
Basement Drywall Taping and Mudding in Hamilton (2026): Finishing Board Installed by Another Crew
Updated September 11, 2026
Need a Hamilton taper for already-installed basement drywall? EPF’s 2026 planning range is CAD $1.75–$3.50 per sq. ft. of ready board before HST and extras. Separate board corrections and failed-tape repairs from the finishing price.
- Trusted since 2005
- Fully insured
- Dust-controlled sanding
- Paint-ready finishing
- 3-year workmanship warranty
Quick Answer
For EPF’s 2026 planning range, allow about CAD $1.75–$3.50 per sq. ft. of actual drywall surface for standard finishing on ready board, before HST and extras. A finishing contractor can assess board installed by someone else, but a tape-and-mud quote should start with a condition review. Separate loose or uneven board, damaged paper, failed tape, and unfinished trade work from normal joint finishing. Record who corrects each issue before it is covered.
If you need basement drywall taping and mudding in Hamilton after another crew has hung the board, arrange a condition review before accepting a finishing price. Tape cannot solve every installation problem. Our Hamilton drywall installation and finishing service can assess what is ready for compound and what needs correction first.
This situation can arise after a homeowner hangs the sheets, a renovation contractor completes the boarding, or a previous finisher leaves the work partway through. It does not automatically mean the installation is poor. It means the next contractor needs a clear starting point and the homeowner needs to know which parts of the result are included in the new scope.
2026 basement taping and mudding cost range in Hamilton
For an unfinished basement, the Binbrook installation page helps define room boundaries, utility-space finishes and the information needed before hanging board. See Binbrook drywall installation preparation.
Use CAD $1.75–$3.50 per sq. ft. of measured wall and ceiling surface as EPF’s preliminary 2026 planning allowance for standard Level 4 taping, mudding, and sanding on sound, already-hung drywall. Allow roughly another $0.75–$1.50 per sq. ft. of the selected surface for Level 5 skim coating. These are EPF planning estimates, not a fixed quote or a claim about the average price charged by other local contractors.
Standard finishing allowance
CAD $1.75–$3.50 per sq. ft. of actual drywall surface; sound board ready for joint treatment.
Additional Level 5 allowance
Add CAD $0.75–$1.50 per sq. ft. of the area receiving a full skim coat; not the basement floor area.
2,000 sq. ft. of sound, ready board
$3,500–$7,000 calculated at the standard allowance, before HST, minimum charges, or project-specific extras.
Confirm before booking
Board supply and hanging, corrections, primer, paint, unusual access, extra phase visits, and any separate protection or disposal charges are outside these calculations.
For a hypothetical basement with 2,000 sq. ft. of ready-to-finish drywall surface, standard finishing calculates to $3,500–$7,000. This excludes correcting loose board, removing failed tape, repairing damaged paper, and other takeover work. Obtain those correction prices before treating the baseline as a project budget.
The baseline assumes finishing labour and normal tape and compound materials. Ask the estimator to confirm materials, corner treatment, dust control, ordinary cleanup, and any minimum charge in the written total. The final scope and site conditions determine the written quote, which can fall outside this planning range. The same EPF planning range is used across these guides; no automatic city premium is assumed.
Hiring a basement drywall taper in Hamilton
Tell the contractor whether the sheets were installed by a trade or as a DIY project, and whether any tape or mud has already been applied. Request an assessment of the starting condition rather than a promise to cover everything with another coat. The correction list should be agreed before the finishing scope starts.
Our Hamilton drywall contractor services explain the local service options. Use the room details in this guide to request the specific installation, repair, or finishing scope you need.
What to put in your quote request
Provide complete ceiling and wall views, close-ups of suspect joints, the planned painting date, and the name of the person coordinating remaining trade work. Ask which corrections are included, which need another contractor, and how a new issue will be priced before it is covered.
Sort the basement into ready, correct, and investigate
Ready for joint finishing
Sound, suitably installed board with accessible joints and agreed details can be assessed for the normal finishing sequence.
Needs defined corrections
Damaged paper, awkward gaps, raised joints, or incomplete corner details may need preparation priced separately.
Previous finishing needs review
Loose tape, ridges, bubbles, or unknown compound should be inspected before another coat is added.
Needs another professional first
Active moisture, uncertain structural conditions, or unresolved assembly questions require appropriate assessment before cosmetic finishing.
This sorting exercise should produce a written list, not an argument about the previous installer. The aim is to identify work that affects the next stage. Photographs help record the starting condition, but they do not replace a site assessment where attachment, movement, or hidden details are uncertain.
At EPF Pro Services, we want the quote to distinguish corrections from normal taping, mudding, and sanding. That makes a takeover job easier to compare with another estimate. It also gives the homeowner a chance to ask the original installer to address an agreed issue before the finisher begins, if that is the chosen arrangement.
Start with the board, not the compound bucket
Look along long walls and ceilings to identify obvious steps between panels or changes in the surface. Board that appears flat from directly in front may look different from the stair opening. The finishing contractor should assess whether an issue is a normal joint transition or something that needs correction beneath the finishing material.
Fasteners and panel attachment also matter. A raised head, damaged paper around a fastener, or a panel that moves is not simply another dent to fill. Ask the contractor to identify the appropriate repair. Homeowners should avoid adding random screws where the location of services or supporting construction is uncertain.
Record the corners and cut edges
Outside corners depend on a sound, straight base and the right corner treatment for the detail. Inside corners need adequate preparation for tape and compound. Short returns around windows, boxed columns, and bulkheads deserve individual attention because a small alignment problem can become a conspicuous line after the basement is painted.
Gaps and damaged edges should be assessed under the relevant material instructions. Do not assume every gap can be filled with the same compound in one pass. Some preparation may be straightforward, while an unsupported edge or heavily damaged section may need board work. A photo labelled with the room and location helps the estimator identify each item without guessing.
Previously mudded drywall needs its own assessment
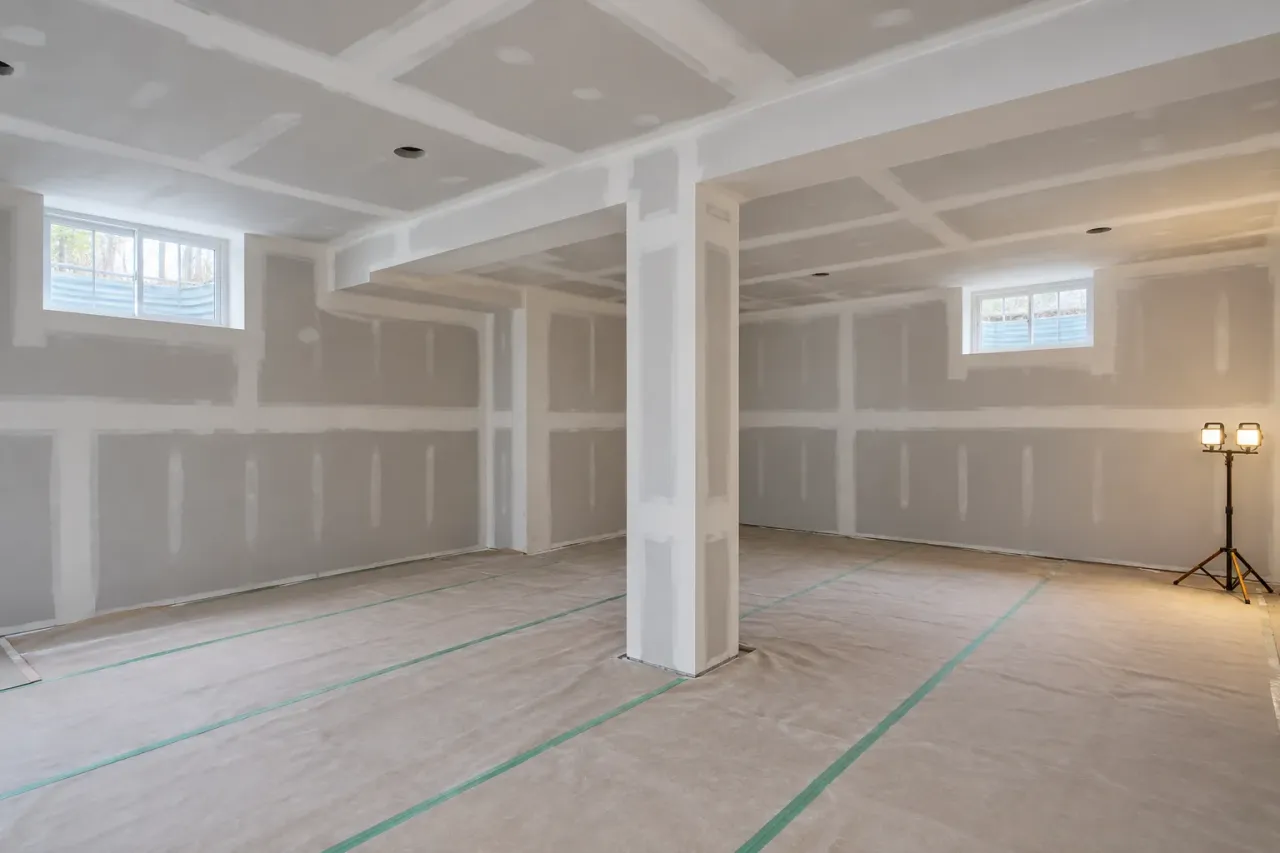
A wall with white compound stripes may look farther along than it really is. The contractor needs to determine whether the tape is sound, the joints are properly shaped, and the surface is suitable for further coats. Loose material under a new skim remains loose material. Adding more compound does not automatically turn an unstable base into a reliable finish.
Bubbles or lifted tape can indicate that a local area needs repair rather than another cosmetic pass. High ridges, torn paper, and exposed reinforcement also require a plan. Avoid scraping or sanding everything before the review; it can remove useful evidence and create additional damage that changes the amount of work.
Ask whether the proposal is to retain the sound work, remove particular failed areas, or rework a larger surface. Those are different scopes. A finishing contractor should be able to explain the decision in terms of condition and intended appearance, without making unsupported claims about the skill or motives of whoever worked there before.
For the normal progression on sound board, see our guide to drywall hanging, taping, and finishing stages. It helps distinguish a job that is only partly complete from one that requires repairs before the standard sequence can continue.
Keep the product details when another crew started the mudding
If the Hamilton basement already has tape or compound applied, keep any available product labels, receipts and progress photos with the quote request. Note which rooms received which work. A white stripe alone does not identify the reinforcing tape, compound or preparation beneath it.
Ask the incoming finisher to assess the existing work and the suitability of any materials you want them to use. Unopened supplies do not automatically reduce the quoted labour, and an opened bucket should not be assumed usable without review. The contractor should follow the relevant product instructions and explain when a material or previous application cannot be incorporated into the proposed finish.
Write down whether the price includes new finishing materials, assessment of the existing joints and any agreed removal or correction. If the product history is unknown, record that uncertainty before work begins. This helps define the takeover scope without asking the new contractor to promise how hidden work will perform.
Confirm the other trades are finished with the walls
Before closing or finishing a basement area, confirm that the responsible trades and any required project checks are at the correct stage. This guide does not establish permit requirements or certify an assembly. Where the project involves regulated work or uncertain details, obtain direction from the appropriate professional or local authority before proceeding.
Tell the taper about any planned changes to light locations, plumbing access, ventilation, or service openings. A wall can be physically ready for compound while still being scheduled for another cut-out. Completing the finishing first usually creates a second repair and may affect the planned painting date.
Keep required access panels and service openings identifiable. Do not let an unclear drawing or a verbal instruction result in an opening being covered because it looked unfinished. Assign one person to confirm the final layout and communicate changes to the crew. A small amount of coordination can prevent a large patch in a newly finished ceiling.
If trade openings are already part of the job, the Hamilton guide to drywall repair after electrical and plumbing work explains the related repair scope. New-board finishing and repairs to surrounding surfaces should be identified separately in the estimate.
Who should pay for corrections before taping starts?
Responsibility depends on your agreements, so do not rely on assumptions at the worksite. Share the observed issues with the relevant contractor and agree on the next step before the finisher covers them. This is a practical handoff discussion, not a substitute for advice about a contractual dispute.
A useful correction list identifies the location, visible issue, proposed action, responsible party, and whether the finishing start date depends on it. Avoid vague entries such as fix the basement. A note such as assess the raised board joint on the recreation-room ceiling gives everyone a concrete item to review.
If EPF is asked to include corrections, have them included in the written scope before they begin. If another installer will return, leave sufficient time for that work and any follow-up check. Hiring separate crews can work well; the important part is a shared understanding of the condition being handed from one stage to the next.
Contractor field note: photograph before the handoff
Take a wide view and a close-up of each agreed correction before it is covered. Keep the images with the written scope. They provide useful context if a later question concerns the original board, a finishing repair, or damage caused by work performed afterward.
Price the takeover work in separate parts
Begin with the included wall and ceiling surfaces, then separate preparation, board corrections, previous-tape repairs, normal joint finishing, and decorating. Protection, sanding control, waste handling, and access also belong in the scope. A single total can be acceptable, but the homeowner should understand what that total is intended to complete.
Floor area alone is a weak way to compare these jobs. Two basements with the same footprint can have very different amounts of repair, partitions, corners, and existing compound. Ask how the contractor measured the surfaces and which conditions were assumed to be ready. A low finishing rate may exclude the corrections that make the job possible.
Do not count every sheet as though both faces are exposed. Finishing measurements concern the surfaces actually included in the basement, not the total area of material purchased. Record both sides of a partition only where both sides are in scope. Bulkhead faces, returns, and the stair transition should be noted so they are neither missed nor counted twice.
If substantial board work remains, compare the proposal with the full drywall installation service scope. If most of the basement is already finished and only local defects remain, our Hamilton drywall repair service may be the more useful starting point.
Have another crew's board ready for review?
Send photos of complete walls, the full ceiling, seams, corners, existing compound, and any unfinished openings. Include the original work scope if available, room dimensions, and the date your painter expects to start.
Agree on the final appearance after the corrections
The finishing contractor still needs an appearance specification after the boarding issues are sorted out. Explain the room's intended use, paint sheen, and lighting. A long ceiling or a wall exposed to side light may require a different discussion from a small enclosed storage area. The phrase just make it smooth leaves too much open to interpretation.
Level 4 and Level 5 describe different finishing treatments, with Level 5 adding a whole-surface skim coat after the required joint work. Neither label promises to erase underlying movement or a badly aligned wall. Ask which surfaces are included in any upgraded finishing allowance and what preparation for primer forms part of the price.
Inspect important sightlines together. Look from the stair entrance, along the bulkhead, and across the main wall under the intended lighting. The goal is a practical agreed standard for how the basement will be used. Record unusually demanding paint or lighting choices so they are accounted for before the last coats are applied.
A realistic sequence from correction to primer
The work should progress from an accepted base to tape and appropriate compound coats, then surface refinement and preparation for decoration. A repair-heavy takeover may not follow the same schedule as untouched new board. Removing failed tape or correcting a heavy joint can create separate readiness checks before the broader finishing continues.
Allow the products to become ready under the actual conditions downstairs. Setting is not the same as drying, and the next operation should follow the product instructions. Cold areas, limited air movement, high humidity, or thick corrections can slow progress. The contractor should update the schedule based on the surface rather than cover a damp repair to preserve a promised date.
Give the painter a provisional sequence and confirm the handoff when the final preparation is ready. If a correction changes the work, explain the impact before another trade arrives. It is easier to adjust a booking in advance than to have a painter discover that one wall still needs compound and another round of sanding.
Keep the basement and the route upstairs protected
Correction work can be messier than straightforward coating, particularly if failed tape or damaged board must be removed. Discuss protection before work starts. The plan should include the material route, finished stairs, nearby rooms, and the location where waste and tools will be handled.
EPF uses dust-controlled sanding with HEPA vacuum support where appropriate, alongside containment and cleanup. Dust collection reduces spread but does not make a renovation dust-free. Keep household traffic outside the active zone and avoid storing fragile belongings immediately beside the work just because they are covered with a sheet.
If the reason for the takeover includes staining, soft board, persistent dampness, or recurring cracking, have the cause assessed before cosmetic work continues. Unknown older materials may also need appropriate evaluation before disturbance. The finishing contractor should not be expected to certify that an unresolved building problem has disappeared because the surface has been skimmed.
Finish with a documented painting handoff
Separate finishing corrections from new damage
Once the base and scope are accepted, agree on how later damage will be recorded. A new cut-out, a dent from carrying materials, and a sanding defect are different issues. Photograph the affected area and discuss the repair before another coat conceals it. This keeps the conversation focused on what happened and what is needed rather than on assumptions about the previous crew.
Choose one person to keep the correction list current, particularly when a homeowner, renovation contractor, taper, and painter are all involved. Record which items are complete and which still affect the decorating date. The list does not need technical language; room names, clear photos, and a specific action are enough. A shared record helps prevent the same small defect from being discussed repeatedly without anyone being assigned to resolve it.
Review the completed joints and corners before primer, including places where the new contractor made corrections. Check for obvious ridges, damaged face paper, exposed tape, and unfinished tool marks. Agree on how sanding dust is removed and who is responsible for any small corrections that become visible once primer is applied.
If EPF is coordinating the coating stage, discuss interior painting after drywall corrections in the same scope. For a broader basement plan, the Hamilton basement drywall contractor guide connects the finishing work with room layout, installation, and renovation sequencing.
Keep the original condition photos, correction list, final scope, and paint details together. That record helps distinguish later damage from the work completed during the takeover. A clear final handoff protects the homeowner's expectations without asking any contractor to make a blanket promise about work they could not inspect beneath the finished surface.
To plan the next step, send EPF your Hamilton basement taping and mudding photos. Show what is already installed, what has been coated, and what remains uncertain. We can use that information to discuss the appropriate assessment and a scope that reaches the agreed finish.
FAQ
Can a drywall taper use compound and tape left by my previous contractor?
Have the finisher review the products, their condition and compatibility with the work already completed. Keep labels and receipts where available. Leftover supplies are not automatically suitable or a substitute for labour, and the quote should state which materials and corrections it includes.
Can EPF sand and finish basement drywall that I hung myself in Hamilton?
EPF can assess DIY-installed board for a finishing quote. The assessment should identify attachment, panel alignment, damaged edges, and existing compound. Corrections must be agreed before taping and sanding; the standard planning range assumes sound ready-to-finish board.
What is the 2026 cost range for basement taping and mudding in Hamilton?
For EPF’s preliminary budgeting, allow CAD $1.75–$3.50 per sq. ft. of actual wall and ceiling surface for standard Level 4 finishing on ready board. Level 5 skim coating adds roughly $0.75–$1.50 per sq. ft. of treated surface. These EPF planning allowances are before HST, minimum charges, corrections, primer, paint, and project-specific extras; EPF confirms the price in a written quote.
Can EPF finish basement drywall installed by another Hamilton contractor?
EPF can assess it for a finishing quote. The review should identify board condition, existing compound, necessary corrections, and any unfinished trade work before the scope is confirmed.
Can new mud be applied over bubbling drywall tape?
The tape needs assessment first. Loose or failed material may require repair or removal; another surface coat does not automatically make the underlying joint sound.
Who fixes boarding problems before the taper starts?
Agree on responsibility in writing. The original installer may return, or the finishing contractor may include defined corrections in a revised scope. Record the decision before the issue is covered.
Does a tape-only price include fixing uneven board?
It may not. Ask whether the price assumes ready-to-finish board and obtain a separate description of any corrections, previous-tape repairs, and decorating work.
What should I photograph for a basement drywall takeover?
Provide complete walls and ceiling views, close-ups of seams and corners, existing compound, unfinished openings, and the stairs. Include dimensions, previous scope information, and the planned painting date.
Drywall service pages and guides
Plan the Right Drywall Service Next
Hamilton drywall installation and finishing
Assess the board and define the work needed for a clear finishing handoff.
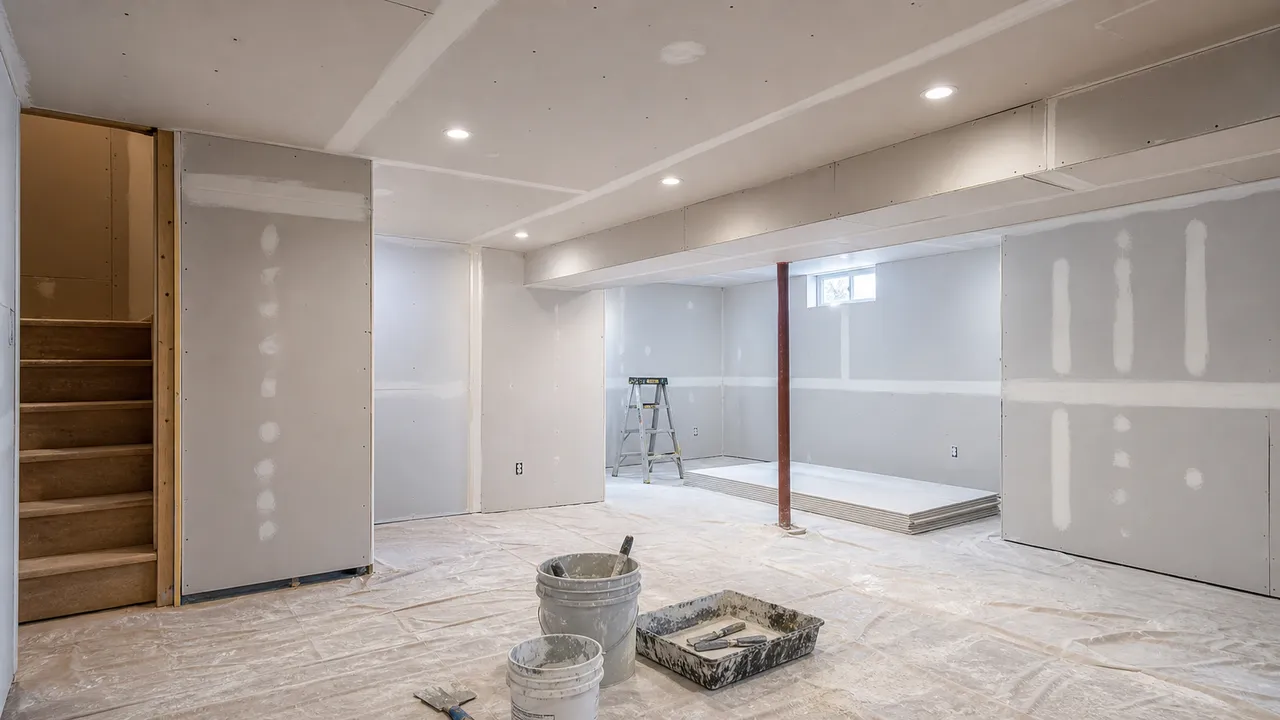
Plan the wider Hamilton basement project
Connect taping and finishing with layout, board installation, and trade sequencing.
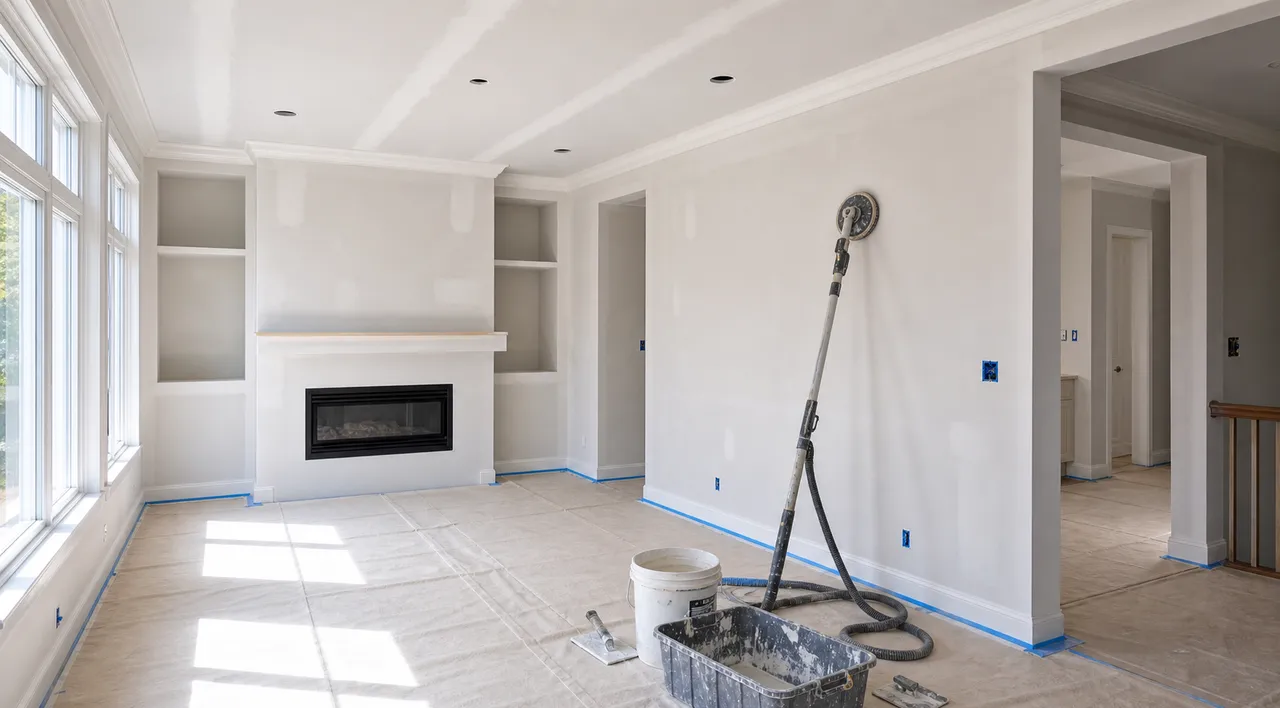
Repair openings after other trades
Separate trade cut-out repairs from the new-board finishing scope.
Field Photos
What the Work Can Look Like
Article Review
AuthorEPF Pro Services
Reviewed byEPF Pro Services
UpdatedSeptember 11, 2026
Plan your drywall scope
Get a drywall quote today
Share photos, room sizes, and timing. We reply the same day with Hamilton drywall availability and a clearer written scope.
Quick next step