Basements & renovations
Board installation for rec rooms, additions and interior renovations, including bulkheads, openings and transitions to existing walls.
New spaces, planned from framing to finishEPF Pro Services · Hamilton, Ontario
A better finish starts
beneath the paint.
From basement walls to new ceilings, we handle board hanging, taping, mudding and sanding. One clear scope, with the finish your space needs.
Ancaster · Dundas · Stoney Creek · Waterdown · Hamilton Mountain
Built around your project
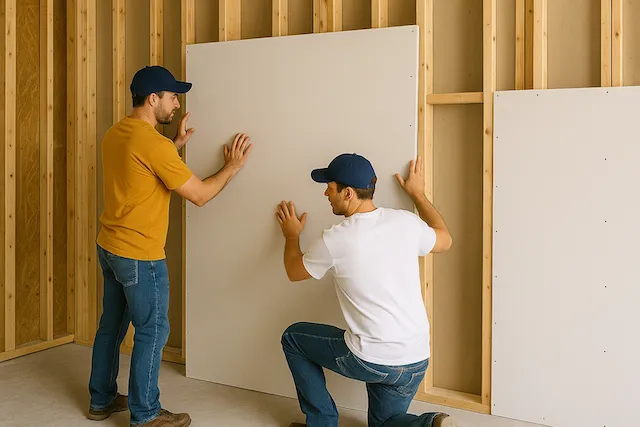
Hamilton homes and job sites come with different access, layouts and finish requirements. We plan the installation around yours, from the board specification to the final handover.
Board installation for rec rooms, additions and interior renovations, including bulkheads, openings and transitions to existing walls.
New spaces, planned from framing to finishNew panels and replacement sections, with attention to board layout, backing, joints and the lighting that will reveal the finished surface.
A consistent foundation for your paintInstallation for condo updates, offices and retail interiors, coordinated with delivery access, building rules and other trades.
A scope that works with your siteOnly a small area needs attention? Explore drywall repair in Hamilton. Updating textured ceilings too? See our Hamilton popcorn ceiling removal service.
Choose the right surface
Bright windows, long ceilings and paint sheen can reveal small surface differences. We discuss your finish before the first board goes up.
Taped joints, finished fasteners and sanded compound. A common starting point for many painted walls, with suitable primer and paint specified for the room.
Adds a thin skim coat across the whole surface to help reduce differences between paper and joints. Consider it for critical side lighting, broad ceilings or higher-sheen finishes.
From planning to paint-ready
Good drywall work depends on preparation, coordination and enough drying time. Here is how we approach the job.
We review your drawings or photos, dimensions, framing condition, access and finish expectations. Any repairs or preparation become part of the written scope.
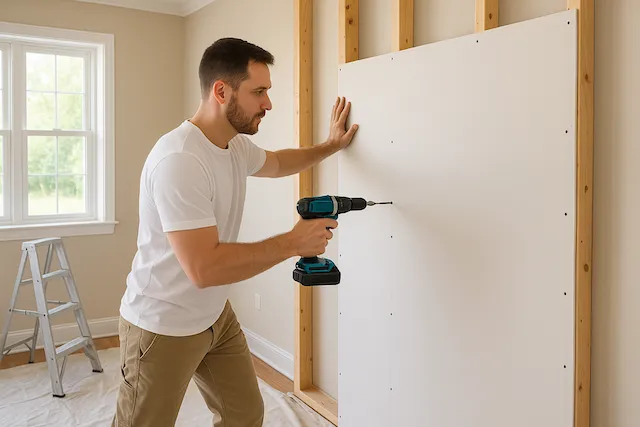
Once the site and required inspections are ready, we plan material handling and protection, then cut and fasten the board around openings and services.
Joints, corners and fasteners are finished in stages, allowing drying time between coats. Sanding and surface checks prepare the agreed finish.
We review the surface under appropriate lighting, address touch-ups and clean the work area. Primer and painting follow according to your quote.
Plumbing, electrical and HVAC rough-ins, backing and any required inspections should be complete. For replacement after a leak, the moisture source must be resolved and the affected area assessed and dry. Fire-rated or acoustic assemblies follow the project specification.
Know what you are paying for
A useful quote explains the work, materials and finish. We estimate from your dimensions, drawings or photos, then confirm site conditions where needed.
Get an itemized estimateWall and ceiling area, room count, bulkheads, openings and ceiling height.
Board thickness and specified assemblies, joint finishing, skim coating and primer.
Deliveries, stair carries, elevator bookings, protection, removal and disposal where included.
Project size, site readiness, temperature and humidity affect the number and spacing of visits.
Local service, practical planning
From established homes in Westdale and Kirkendall to basement renovations on Hamilton Mountain, we plan around access, existing surfaces and the rooms you need to keep using.
Explore your area
Find preparation details and project considerations for your part of Hamilton.
Tell us what you are building
Share a few details and we’ll follow up about the scope, finish and timing. Include a link to photos or drawings if you have them.
Start with the details you know. We can work through the rest together.
We use these details to respond to your project enquiry.
Before you book
Practical answers about drywall installation in Hamilton.
The quote depends on the wall and ceiling area, board specification, ceiling height, access and finish level. Demolition, disposal, insulation, priming and painting should be listed separately when needed. Send room dimensions, photos or drawings so we can prepare an itemized scope and confirm any site visit requirements.
Yes. We provide board installation, joint taping, mudding and sanding as a coordinated scope. We agree on the finish level before starting and identify whether primer and painting are included or will be completed by another trade.
Yes. Basement projects can include walls, ceilings, bulkheads and stair transitions. Before boarding, the framing, mechanical rough-ins, moisture conditions and any required inspections need to be ready. Tell us about the intended use of the space and any specified fire or sound assemblies.
Level 4 is a common finish for many painted walls. Level 5 adds a thin skim coat over the whole surface to reduce differences between the drywall paper and finished joints. It is worth considering for strong side lighting, broad ceilings or higher-sheen paint. Primer, paint selection and lighting still affect the final appearance.
Timing depends on the area, layout, access and number of finishing coats. Joint compound needs appropriate drying time between coats, and temperature, humidity and ventilation affect that schedule. We set out the stages and drying allowances in your quote rather than promise the same turnaround for every room.
Yes. We plan floor protection, dust containment, material handling and cleanup around the rooms still in use. Condo projects also need suitable delivery access, elevator bookings and building work hours. Discuss those requirements before booking so the schedule reflects the property.
Plan with confidence
Compare what is included in an installation and finishing quote.
Read the guideThink through bulkheads, access and the finishing sequence.
Read the guideUnderstand the stages between open framing and paint.
Read the guideChoose a finish for the room, lighting and paint you have in mind.
Read the guideRelated planning: drywall replacement after water damage · Burlington commercial fit-out guide · Oakville ceiling rebuild guide.
Nearby installation services: Burlington · Oakville · Grimsby · Mississauga.