
Basement Drywall Taping and Mudding in Mississauga (2026): Cost and Finish Guide
Updated September 11, 2026
EPF’s 2026 Mississauga basement taping and mudding planning range is CAD $1.75–$3.50 per sq. ft. of ready drywall surface before HST and extras. Use the 750 sq. ft. basement example to compare measured area, finish level, and quote inclusions.
- Trusted since 2005
- Fully insured
- Dust-controlled sanding
- Paint-ready finishing
- 3-year workmanship warranty
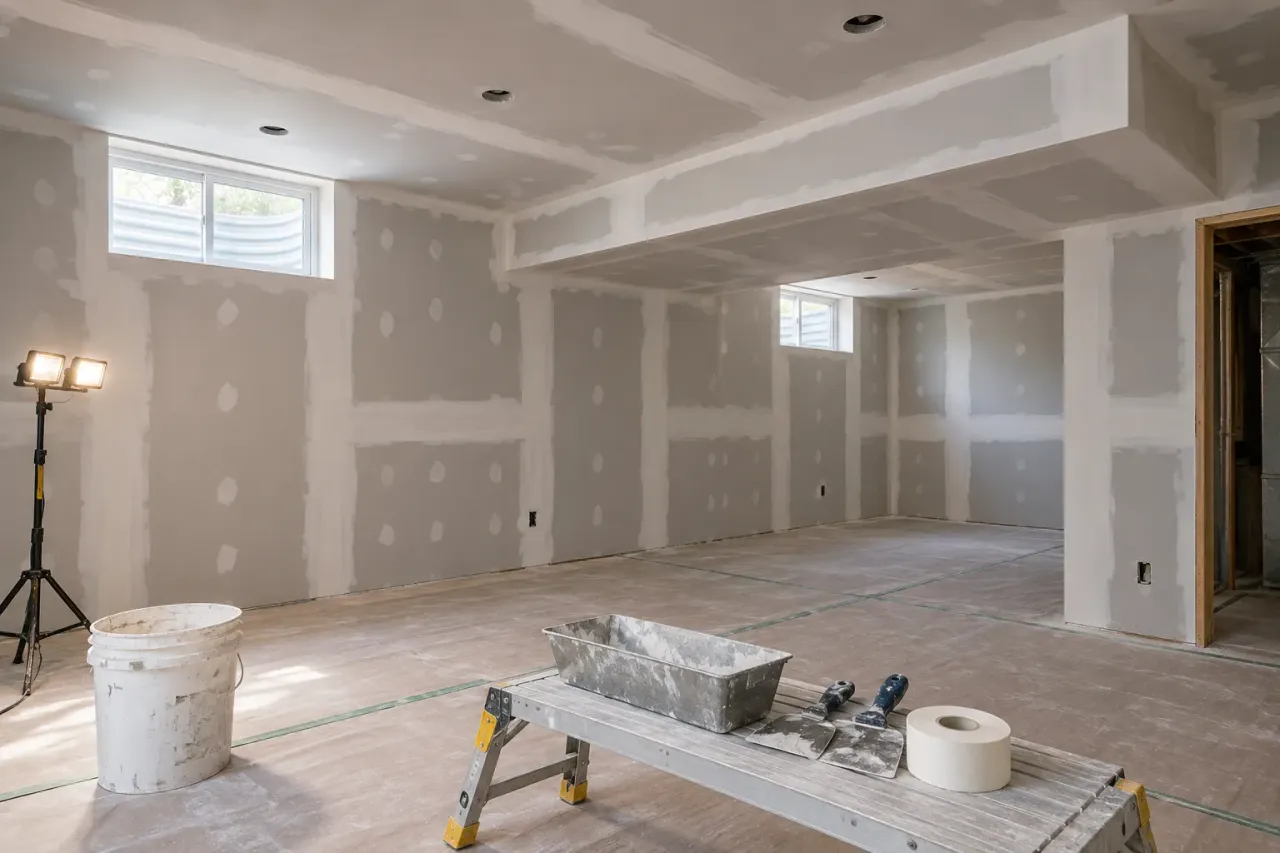
Quick Answer
For EPF’s 2026 planning range, allow about CAD $1.75–$3.50 per sq. ft. of actual drywall surface for standard finishing on ready board, before HST and extras. Price the actual drywall surfaces and the agreed finish, not floor area alone. A 750 sq. ft. basement with an 8-foot ceiling can have 1,630 sq. ft. of perimeter walls and ceiling before interior partitions and bulkheads are counted. A useful quote identifies board corrections, tape, compound coats, corners, sanding, protection, cleanup, and whether primer and paint are included.
For basement drywall taping and mudding in Mississauga, the useful starting point is a measured finishing scope. Floor area alone cannot tell you the price. If your basement is boarded or nearly ready, our Mississauga drywall installation and finishing service can review what remains before primer. This guide explains how to compare the work, including a 750 sq. ft. measurement example.
At EPF Pro Services, we want the quote to describe the surface you will receive. Tape embedded in one coat of compound is an early stage, not a finished wall. Smooth seams, clean corners, controlled sanding, and a clear agreement about primer all matter when the room is finally painted.
2026 basement taping and mudding cost range in Mississauga
EPF’s preliminary 2026 planning allowance is CAD $1.75–$3.50 per sq. ft. of actual wall and ceiling surface for standard Level 4 taping, mudding, and sanding on sound, already-hung drywall. For a Level 5 skim coat, allow approximately another $0.75–$1.50 per sq. ft. of the area receiving that treatment. These are EPF planning estimates, not a fixed quote or a claim about the average price charged by other local contractors.
Standard finishing
CAD $1.75–$3.50 per sq. ft. of actual drywall surface, assuming sound board ready for joint treatment.
Level 5 skim-coat addition
Add CAD $0.75–$1.50 per sq. ft. of treated surface, not floor area.
750 sq. ft. basement example
The 1,630 sq. ft. wall-and-ceiling example below gives a calculated allowance of $2,852.50–$5,705 before HST and extras.
With the example partition
At 1,950 sq. ft. of included drywall surface, the calculated allowance becomes $3,412.50–$6,825 before HST and extras.
Those totals are arithmetic illustrations for the dimensions below, not completed jobs or firm offers. The baseline assumes finishing labour and normal tape and compound materials. Board supply and hanging, corrections, primer, paint, unusual access, extra phase visits, and separately charged protection or disposal are outside these calculations. Ask the estimator to confirm materials, corner treatment, dust control, ordinary cleanup, minimum charges, and the full written total. The final scope and site conditions determine the written quote, which can fall outside this planning range.
Hiring a basement drywall taper in Mississauga
Ask each contractor to quote the same measured wall and ceiling surfaces, rather than sending only the basement floor size. State whether the sheets are already installed and whether you need sanding only, primer, or painting. A useful comparison identifies any minimum charge and board corrections before you compare the final totals.
Our Mississauga drywall contractor services cover the wider installation and repair options. If your basement is already boarded, identify the job as a finishing-only assessment so the proposed scope starts at the correct stage.
What to put in your quote request
Send room dimensions, ceiling heights, wide photos, the number of partitions finished on both sides, and any excluded storage areas. Ask whether the measured total includes bulkheads and returns, then request written details for primer, cleanup, and any corrections before finishing.
Basement drywall taping and mudding: what changes the cost?
Already boarded, open room
Measure walls and ceiling. Confirm board acceptance, tape, compound, sanding, cleanup, and primer handoff.
Bedrooms, closets, and bulkheads
Count both faces of partitions and record corner lengths. Small details can require more labour per square foot.
Poorly hung or previously mudded board
Separate correction work from finishing. Loose tape, damaged paper, and uneven joints need assessment first.
Bright ceiling or higher-sheen paint
Agree on finish level and lighting expectations. Price any full skim coat separately from standard joint finishing.
The total should account for measured surfaces, finishing labour, materials, preparation, and the agreed extras. If a contractor quotes per square foot, ask exactly which square footage that rate uses. A floor-area rate and a drywall-surface rate cannot be compared directly, even when both quotes use the same unit label.
A small laundry room may have little board area but several short corners, pipe enclosures, and awkward access. A larger open recreation room can have longer uninterrupted runs that are simpler to finish. Minimum setup and return visits also help explain why a small job does not cost a perfectly proportional fraction of a whole basement.
How to measure a 750 sq. ft. basement for a quote
Here is an illustrative calculation, not an EPF project or a price offer. Imagine a rectangular basement measuring 25 feet by 30 feet with an 8-foot wall height. Assume the perimeter walls and the entire flat ceiling will receive drywall finishing. For this first pass, ignore doors, windows, interior partitions, and bulkheads.
Worked measurement example
- Floor area: 25 × 30 = 750 sq. ft.
- Perimeter: 2 × (25 + 30) = 110 linear feet
- Perimeter wall surface: 110 × 8 = 880 sq. ft.
- Flat ceiling: 25 × 30 = 750 sq. ft.
- Walls plus ceiling: 880 + 750 = 1,630 sq. ft.
- One 20-foot partition, finished on both sides: 20 × 8 × 2 = 320 additional sq. ft.
- Illustrative total with that partition: 1,950 sq. ft., before opening deductions and other details.
That example has more than twice the floor area in drywall surface before the added partition. It does not establish a universal basement multiplier. A divided layout, different wall height, partial drywall ceiling, stairwell, or unfinished mechanical room will change the result. Measure each surface that is actually included instead of multiplying every basement by one convenient number.
Tell the estimator which rooms remain unfinished and whether both sides of each partition belong in the quote. Record bulkhead faces and undersides separately, accounting for any ceiling area they replace so nothing is counted twice. Note window returns, boxed posts, short hallway walls, and transitions at the basement stairs. These details are easy to miss on a floor plan.
Large openings reduce board area, but openings can also add edge work and corners. Do not assume subtracting every door and window produces the contractor's final billing quantity. Ask how deductions and corner labour are handled. Photos and a simple labelled sketch usually communicate more than a total square-foot figure on its own.
Compare tape-only, hang-and-finish, and renovation quotes
A basement finishing price can describe three very different purchases. When you ask for estimates in Mississauga, send every contractor the same marked room sketch and ask them to identify which package they are pricing. Keep your own list of the stages still needed after that contractor leaves.
Tape-only starts with installed board accepted as suitable for finishing. Hang-and-finish also includes the agreed board supply and installation. A broader basement renovation may include other trades and finishes, so its floor-area price is not a comparable drywall rate. Ask for the drywall portion to be identified when practical, without assuming a bundled job can be separated at the same price.
Compare the total needed to reach your chosen handoff: sanded board, primed surfaces, or completed paint. Add only confirmed omitted work to each proposal. If an item is still unpriced, mark it as unresolved rather than treating it as free. That makes a higher but more complete quote easier to assess.
What a tape-and-mud quote should include
Ask for a written list of included surfaces and a defined stopping point. A quote can reasonably exclude paint or board corrections, but those exclusions should be clear before you arrange other trades. The most useful comparison is the total cost of reaching the same agreed condition in the same rooms.
Separate preparation from normal finishing
Preparation can include protecting floors and stairs, arranging material access, checking installed board, and correcting isolated problems before tape goes on. If a different crew hung the drywall, agree on who fixes loose panels, unsuitable gaps, damaged edges, and missing support. A finishing price based on sound board may change when the actual installation needs repairs.
Name the finishing and painting stages
The finishing allowance should identify joint tape, suitable compounds, inside corners, outside corner treatment, fastener finishing, coat sequence, sanding, and final surface checks. Ask whether materials are supplied and whether any whole-surface skim coating is included. A phrase such as three coats is less useful if it does not explain the finished condition and the surfaces covered.
Primer, finish paint, caulking at trim, and baseboard installation may be separate stages. Confirm whether cleanup means collecting sanding dust and waste from the work area or a broader house clean. Taxes, disposal, access restrictions, and return visits for touch-ups should also be addressed in the written total, rather than discovered after the painter arrives.
If you still need board hanging as well as finishing, review the drywall installation service scope before comparing it with a tape-only estimate. Those are different amounts of work, even when both contractors describe the result as a finished basement.
Check the boarding before the first coat
Taping cannot reliably hide a wall that moves or a ceiling with an abrupt step between panels. Before finishing starts, look along the surface from several positions. Let the contractor assess panel alignment, attachment, damaged face paper, and transitions around openings. Correcting the base now is usually more straightforward than rebuilding a finished seam later.
Butt joints deserve particular attention. Unlike factory tapered edges, square board ends do not provide a recessed space for the tape and compound. They need a wider, gradual blend so the finished joint does not form an obvious bump. Poor joint placement around door openings or concentrated joints in a highly visible ceiling can complicate the finishing work.
Do not ask the taper to bury access panels, service openings, or details that another trade still needs. For a basement renovation, confirm that required checks and rough-in work are complete before closing or finishing surfaces. Any uncertain wall assembly, moisture issue, or structural concern needs the appropriate professional assessment before cosmetic work continues.
Our Mississauga basement drywall renovation guide covers the wider project sequence. Use it when your questions include hanging board and coordinating the basement renovation, rather than finishing already-installed panels alone.
How taping, mudding, and sanding fit together
Tape reinforces the joints
The first finishing stage establishes sound joints. Tape must be compatible with the compound and application. Paper tape is embedded in an appropriate bedding compound; other reinforcing products have their own requirements. A tape label or product name is not a substitute for following the system instructions, especially when selecting compounds for repairs and corners.
Successive coats shape the surface
After the bedding stage is ready, filling and finishing coats build a gradual transition across the joint. Corners and fasteners also need attention. The purpose is to remove abrupt edges and shallow depressions, not to bury the entire room under one thick coat. Heavy applications can make drying, shrinkage, and sanding harder to manage.
Sanding refines a well-shaped joint
Good compound work reduces how much sanding is needed. Sanding should remove small ridges and tool marks without tearing the board paper or exposing tape. If a joint remains hollow, more sanding will not fill it. The surface needs a suitable correction, followed by the necessary drying and another check before primer.
For the full sequence from panels to primer, see our drywall hanging, taping, and finishing guide. The CGC drywall finishing handbook provides manufacturer guidance on finishing systems, materials, and application conditions.
How long does basement drywall mud take to dry?
There is no reliable whole-basement completion date based only on the number printed on a compound bag. Setting time and drying time describe different things. A setting compound can harden while still containing moisture. Ready-mixed drying compounds also depend on room conditions and application thickness. Follow the specific product instructions before recoating, sanding, or decorating.
Plan for separate work stages and drying intervals. A basement with cool surfaces, limited air movement, or high humidity can need longer between operations. A warm room with controlled humidity may progress differently, but drying should be checked rather than assumed. Thick repairs and tight corners can lag behind broad thin coats on the same visit.
Ask the contractor for the expected sequence, likely return visits, and conditions that would move the primer date. Keep the painter's booking flexible until the final coat is ready. Tell the crew if the house will be unheated, if ventilation is limited, or if other wet work is happening nearby. Those details affect planning more than a promise to finish every basement in the same number of days.
Contractor field note: inspect the room as it will be used
Before agreeing on the finish, show us the planned lighting and paint sheen. A wall beside the basement stairs or beneath lights close to its face can reveal a joint differently from the middle of a softly lit room. Agree on the finish expectation before sanding starts.
Level 4 or Level 5 for basement walls and ceilings?
For many painted rooms, a properly executed Level 4 finish is a reasonable starting specification. The joints and fasteners are finished, but the entire board face is not given the additional skim coat associated with Level 5. Paint selection, lighting, wall coverings, and the expected appearance should guide the choice rather than the word basement alone.
Level 5 adds a thin skim coat across the surface after the required joint finishing. It helps reduce surface differences between the paper and finished joints. It can be worth discussing for demanding lighting or sheen conditions. It does not straighten poor framing, remove movement, or guarantee that every surface will look flawless from every possible viewing angle.
Compare the options in our Level 4 versus Level 5 drywall finish guide. You may choose a higher finish for a prominent ceiling or wall without specifying it throughout storage rooms and less visible areas. Put any room-by-room difference in the estimate.
Dust control in an occupied Mississauga home
Basement work affects the route through the house as well as the room downstairs. Finished stairs, the entrance, laundry access, stored belongings, and the path used to carry materials all need consideration. Move small items out of the work area when possible and agree on which larger items will remain protected in place.
EPF uses dust-controlled sanding with HEPA vacuum systems as appropriate to the work. Collection at the sanding tool helps reduce airborne and settled dust, but renovation is not completely dust-free. Containment, careful handling, and cleanup still matter. Ask how the crew will protect adjoining areas and maintain safe access during the job.
Plan the cleanup before the first sanding pass: where tools stay, how waste leaves the basement, and when the area becomes available to the painter. Do not stack delicate belongings beside active finishing work. Keep children and pets outside the work area, and discuss ventilation or HVAC protection with the contractor rather than improvising changes to building systems.
Have board up and need the finishing priced?
Send wide basement photos, close-ups of seams, ceiling height, room dimensions, and whether you want sanding only, primer, or painting as well. Include the stairs and bulkheads so access and corner work can be assessed.
Common mistakes when hiring a drywall taper
Comparing only the headline rate is one mistake. Another is accepting an undefined paint-ready handoff. Ask what happens if primer reveals a small ridge, pinhole, or scratch. Agree on who inspects the primed surface, who makes touch-ups, and whether that visit is included. This avoids the homeowner being left between the taper and painter.
Hiring separate installers and finishers can work well when responsibilities are clear. It is not automatically a poor choice. The important step is an acceptance check before finishing begins and written responsibility for corrections. A single coordinated scope can simplify the handoff, but it still needs the same clear standards and exclusions.
DIY taping may be practical for a small, low-visibility area if you can allow for learning and drying time. A full basement adds ceiling work, repeated corners, cleanup, and consistency across many joints. Before taking it on, consider whether you can maintain the schedule and the finish quality expected by the next trade. Failed tape or thick ridges can require removal and rework rather than a quick finishing coat.
If the basement has staining, persistent dampness, soft board, or a musty smell, pause cosmetic finishing and have the cause assessed. Joint compound is not a moisture repair. For older unknown materials that would need disturbance, obtain appropriate advice before sanding or demolition. A clean-looking wall should follow a sound repair decision, not cover an unresolved problem.
Primer, paint, and the final walkthrough
Inspect the sanded surface for obvious ridges, exposed tape, rough paper, scratches, and uneven corners. Remove sanding dust using suitable methods before applying the specified primer. Primer helps prepare the surface for paint, but it is not a filler for a badly shaped joint. Corrections found after priming may need further preparation and spot priming.
If painting is part of the project, coordinate interior painting after drywall finishing before you approve the drywall schedule. Confirm wall and ceiling colours, sheen, primer requirements, and who protects any newly installed flooring. Keep trim and finish painting aligned with the drying and inspection stages.
During the walkthrough, use the agreed room lighting and check the areas you will actually see: the stair wall, the long ceiling run, outside corners, and transitions around bulkheads. Record any corrections before the next trade starts. Keep the scope, product information, and final paint details together so future touch-ups are easier to match.
Prepare a basement finishing quote in Mississauga
For a useful estimate, provide the basement address or service area, a room sketch with dimensions, ceiling heights, and photos from opposite corners. Include the entire ceiling and close-ups of uncertain board joints. Mention closets, bathrooms, boxed columns, stairs, access limitations, and any areas that will remain unfinished.
Explain who installed the board, whether any tape or compound is already on it, and whether previous work has failed. Share your intended use for the room and your lighting plans. Let us know if a painter is already booked or if EPF should include primer and paint. An honest description of the current stage helps keep the estimate realistic.
EPF Pro Services can review the finishing scope for your Mississauga basement and nearby GTA project. Request a basement drywall finishing quote with photos and measurements so we can identify what is needed between the board you have now and the finish you want.
FAQ
Is taping and mudding included in a basement renovation price?
It may be included, but the package must say so. Ask which walls and ceilings are covered and whether the total includes board installation, finishing, primer and paint. Compare tape-only quotes using the same drywall surfaces and handoff stage, rather than the floor-area rate of a full renovation.
Can EPF quote basement taping and mudding from photos in Mississauga?
Photos and measurements help EPF review the scope and discuss preliminary budgeting. Send full walls, the ceiling, corners, partitions, and access views. A site assessment may still be needed to confirm board condition and details before a written price is finalized.
How much does it cost to tape and mud a 750 sq. ft. basement in Mississauga in 2026?
Using EPF’s preliminary CAD $1.75–$3.50 per sq. ft. of actual drywall surface, the guide’s hypothetical 1,630 sq. ft. wall-and-ceiling layout calculates to $2,852.50–$5,705. Adding the example partition increases it to $3,412.50–$6,825 for 1,950 sq. ft. These are budgeting calculations before HST, minimum charges, board corrections, primer, paint, and project-specific extras, not fixed EPF quotes.
Is drywall taping priced by floor area or wall area?
Contractors may use different pricing methods. Ask whether the quoted rate refers to floor area, actual wall and ceiling surface, or a complete fixed scope. Compare totals only after confirming the same surfaces and finishing stages are included.
Can EPF tape drywall installed by another contractor?
EPF can review already-installed board for a finishing quote. The board condition, joints, corners, access, and any required corrections need assessment before the finishing scope is confirmed.
Does taping and mudding include sanding and primer?
Do not assume it does. The written quote should state whether sanding, cleanup, primer, finish paint, and touch-ups after priming are included. Tape embedded in an initial coat is not a completed paint-ready surface.
Does a basement need Level 5 drywall finishing?
Not every basement needs Level 5. Choose the finish according to lighting, paint sheen, and appearance expectations. Level 5 adds a whole-surface skim coat, but cannot correct poor framing or moving board.
Can the painter start when fast-setting mud has hardened?
Hardening does not necessarily mean the compound is dry enough for painting. The contractor should follow the product instructions and check readiness for sanding, primer, and finish paint under the actual room conditions.
Drywall service pages and guides
Plan the Right Drywall Service Next
Drywall installation and finishing in Mississauga
Review the local service scope for board hanging, taping, sanding, and finishing.
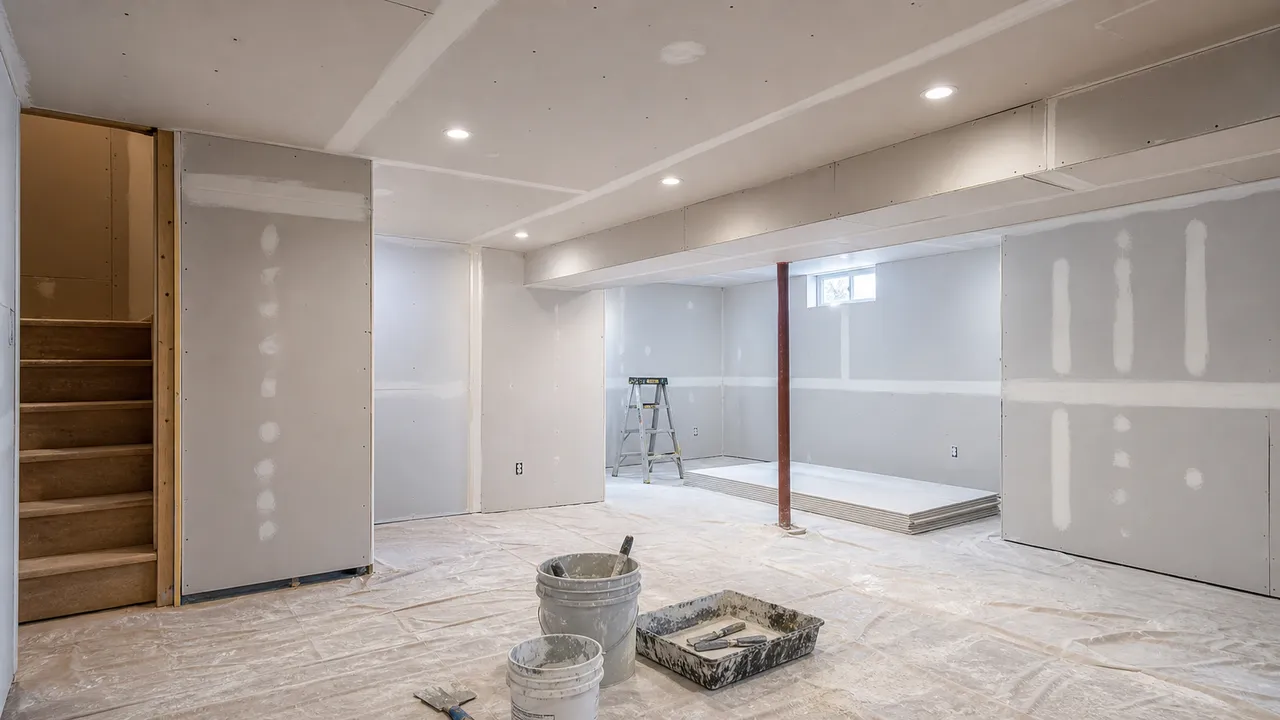
Planning a basement drywall renovation
Coordinate board installation, basement details, access, and finishing stages.
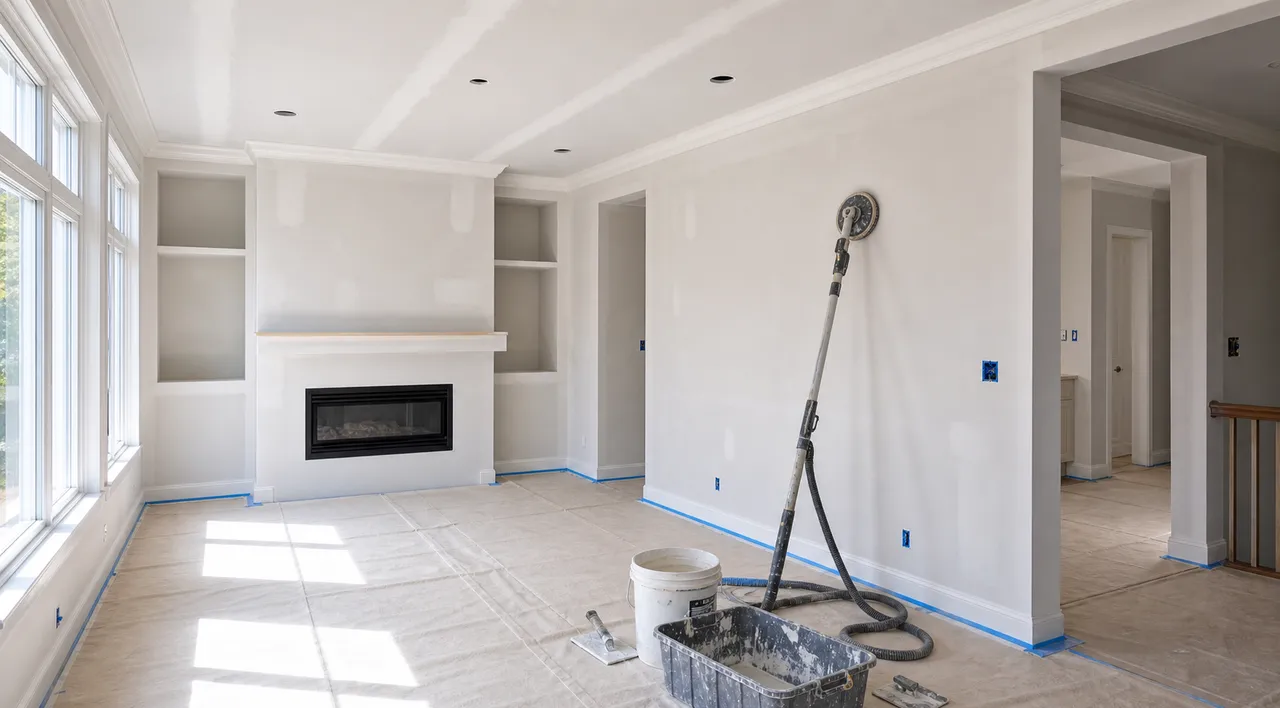
Choosing Level 4 or Level 5 finishing
Understand how lighting and decorating plans affect the finish specification.
Field Photos
What the Work Can Look Like
Article Review
AuthorEPF Pro Services
Reviewed byEPF Pro Services
UpdatedSeptember 11, 2026
Plan your drywall scope
Get a drywall quote today
Share photos, room sizes, and timing. We reply the same day with Mississauga drywall availability and a clearer written scope.
Quick next step