Why Scraping Alone Does Not Create a Smooth Ceiling
Updated June 3, 2026
A clear explanation of why popcorn scraping is only one step and why smooth ceilings usually need skim coat, repair, sanding, primer, and paint.
- Trusted since 2005
- Fully insured
- Dust-controlled sanding
- Paint-ready finishing
- 3-year workmanship warranty
Quick Answer
Scraping alone does not create a smooth ceiling because popcorn texture often hides drywall seams, uneven compound, old repairs, torn paper, waves, nail pops, stains, and builder-grade finish work. Scraping removes texture, but a smooth ceiling usually needs repairs, skim coating, sanding, primer, paint, and lighting checks.
The phrase popcorn ceiling removal can be misleading. It sounds like the texture is the entire problem. Once the texture is gone, the ceiling should be smooth. In many GTA homes and condos, that is not how the ceiling was built.
Popcorn texture was often used because it hid imperfections. It covered taped seams, uneven compound, fastener marks, minor framing waves, patches, and finish work that was never meant to be viewed as a flat painted ceiling. When the texture is scraped away, those hidden conditions become visible.
That is why EPF Pro Services treats popcorn ceiling removal as a refinishing project when the homeowner wants a clean modern result. The removal step matters, but the finish steps determine what the ceiling looks like after paint.
Scraping Removes Texture, Not Defects
A scraper can remove softened texture from the surface. It cannot flatten a drywall seam. It cannot fix a hump at a taped joint. It cannot repair torn paper. It cannot make old patches disappear. It cannot correct visible waves in a ceiling that catches light across a long room.
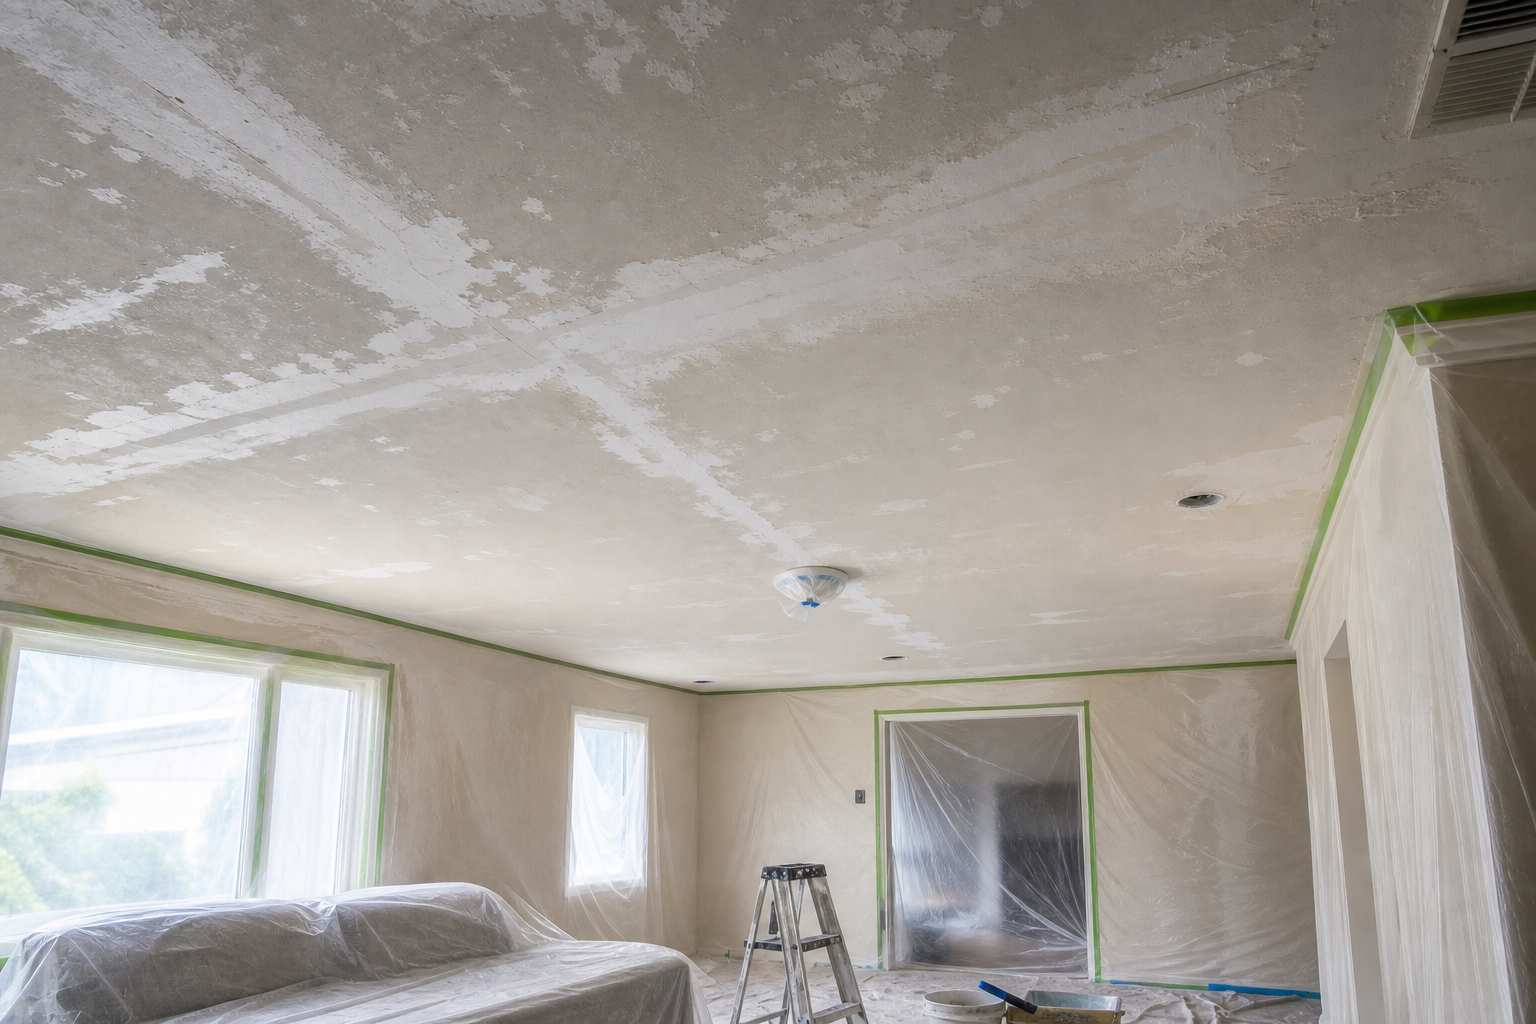
After scraping, the ceiling may feel smoother than before, but it is not automatically paint-ready. The surface may have residue, scratches, gouges, uneven texture, and exposed repairs. Paint will make many of those issues easier to see.
Why Builders Used Popcorn Texture
Textured ceilings were common because they were fast, forgiving, and cost-effective. A texture coat can hide minor drywall finishing imperfections that would be visible on a flat ceiling. That does not mean the original ceiling was defective. It means it was finished for a textured look, not a modern smooth look.
When homeowners remove popcorn, they are often upgrading the finish level. That upgrade requires more than removing material. It requires bringing the exposed drywall surface closer to a smooth ceiling finish standard.
For more detail on finish expectations, see our guide to Level 4 vs Level 5 drywall finish.
Painted Popcorn Makes the Gap Bigger
Painted popcorn ceilings make scrape-only expectations even riskier. Paint seals the texture and can bond it to the ceiling. Some areas scrape. Other areas chip, tear, or stay hard. The result can be a patchy surface that needs more repair than an unpainted ceiling.
If your ceiling has been painted, start with our painted popcorn ceiling removal guide. Painted texture often needs a different scope than unpainted texture.
In some painted cases, encapsulation and skim coating may be cleaner than forcing the texture off. The right method depends on adhesion, ceiling condition, finish expectation, and safety considerations.
What Usually Happens After Scraping
After texture is removed, the ceiling should be inspected. Areas with gouges, torn paper, stains, loose tape, nail pops, and old patches need repair. The surface may then need one or more skim coat passes to create a more uniform plane. Each pass needs proper drying time. After sanding, the ceiling is checked again under light.
Primer is not optional on a properly finished ceiling. It seals compound, helps reveal defects, and prepares the surface for ceiling paint. Finish paint should be applied only after touch-ups are complete. Skipping primer or painting too early can leave flashing, visible patch marks, and uneven sheen.
Why Skim Coat Matters
Skim coating creates a thin layer of compound over the ceiling to blend repairs and smooth the surface. It does not magically fix every structural wave, but it can dramatically improve the visual finish when applied correctly. The compound must be feathered, dried, sanded, checked, and touched up as needed.
The number of skim coat passes depends on the ceiling. A cleaner unpainted ceiling may need less work. A painted ceiling with gouges, patches, and seam lines may need more. Large open concept ceilings often need extra care because long sightlines reveal unevenness.
Lighting Determines What You See
Ceilings are judged by light. A ceiling that looks fine from directly below can show waves when daylight comes through a large window. Pot lights can reveal circular shadows, ridges, and patch edges. Stairwells and vaulted areas can create strong angles that expose defects.
This is why final checks matter. A smooth ceiling should be evaluated under realistic lighting before the final coat. If defects are found after paint, fixing them can require sanding, spot repairs, primer, and repainting larger areas.
Scrape-Only May Be Acceptable in Some Situations
Not every project needs a premium smooth finish. Scrape-only work may be acceptable in a utility room, storage area, rental unit with modest expectations, or a space where minor imperfections are acceptable. The key is honesty about the result. Scrape-only should not be sold as the same thing as a smooth ceiling finish.
For living rooms, bedrooms, kitchens, condos, main floors, and listing-ready spaces, homeowners usually expect the ceiling to look finished after paint. In those cases, the scope should include the steps needed to reach that result.
How to Ask for the Right Quote
Ask whether the quote includes protection, removal or encapsulation, drywall repairs, skim coat, sanding with dust control, primer, ceiling paint, cleanup, and touch-ups. Ask how painted popcorn is handled. Ask whether high ceilings, pot lights, stains, or old repairs change the scope.
If you are still deciding whether to DIY or hire, review what to know before renting popcorn ceiling removal tools.
The right quote should describe the finished ceiling, not just the removal method. If two quotes are far apart, compare the included finish steps. One may be pricing texture removal. The other may be pricing a smooth ceiling.
Scrape, Patch, Skim, Prime, Paint: The Real Sequence
A clean smooth ceiling usually follows a sequence. First the room is protected. Then the ceiling is tested and the removal method is chosen. If scraping is appropriate, the texture is removed carefully. If scraping is not appropriate, the ceiling may need another approach, such as sealing and skim coating over a stable surface. After that, damage is repaired.
The skim coat stage blends the ceiling into a more uniform plane. It may involve one pass or multiple passes depending on the condition. Drying time matters. Sanding follows, then touch-ups, then primer. Primer often reveals small defects that were hard to see before. Those defects are corrected before the final ceiling paint goes on.
When any step is skipped, the ceiling may still be improved, but it may not be smooth. That is why scrape-only quotes and smooth ceiling quotes should be compared carefully. They are not always pricing the same finished result.
Why Pot Lights and Windows Make Scrape-Only Riskier
Pot lights create strong circles of light across the ceiling. Large windows and patio doors create long low-angle light. Both conditions expose unevenness. A ceiling that might look acceptable in a hallway can look wavy in a living room with big windows. A kitchen with new recessed lighting can reveal seams that popcorn texture hid for years.
If you are removing popcorn as part of a renovation that includes lighting upgrades, the ceiling finish should be planned around the new lighting, not the old lighting. Otherwise, the ceiling may look fine during the day of removal and disappointing once the new lights are installed.
How Finish Expectations Change the Scope
A basic improvement scope may remove loose texture and make the ceiling cleaner, but it may allow some visible imperfections. A standard smooth ceiling scope should repair obvious defects, skim as needed, sand, prime, and paint. A higher finish expectation may require broader skim coating and more detailed light checks, especially in open concept rooms.
The homeowner should be honest about the goal. If the goal is to modernize a rental unit at a practical budget, the scope may be different from a main-floor renovation where the ceiling is a major visual surface. If the home is being listed for sale, the finish should account for photos and showings. If the room has strong daylight, the finish should account for side-light defects.
Why a Smooth Ceiling Is Usually Worth Doing Properly
A smooth ceiling can make a room feel cleaner, brighter, and more current. It can also make walls, lighting, trim, and paint colours look more intentional. But because the ceiling is such a large uninterrupted surface, shortcuts stand out. A rushed ceiling can make the whole room feel unfinished even after new flooring, paint, and fixtures are installed.
Doing the ceiling properly while the room is already protected is usually better than painting over a rough scrape and deciding to fix it later. Later repairs often mean moving furniture again, reopening the room, sanding again, priming again, and repainting. A clear finish scope at the start prevents that cycle.
How to Tell If Your Ceiling Needs More Than Scraping
Look for painted texture, stains, cracks, visible seams, sagging tape, old patch marks, pot light cutouts, fixture changes, and areas where the texture looks different from the rest of the room. These signs do not always mean the project will be difficult, but they do mean the ceiling should be assessed before a scrape-only plan is chosen.
Also pay attention to the room itself. Large windows, open concept layouts, skylights, stair openings, and rows of pot lights make ceiling defects more visible. A small bedroom with one central fixture is more forgiving than a long living room ceiling viewed from several angles.
What Photos Help Us Recommend the Right Finish Scope
Send a wide photo of the room, a close photo of the texture, and an angled photo that shows how light hits the ceiling. If the ceiling is painted, mention it. If you are not sure, say that too. Include room size, ceiling height, whether furniture is present, whether pot lights are planned, and whether the home is a condo or house.
Those details help separate a simple removal project from a full smooth ceiling refinishing project. They also help avoid a quote that sounds attractive but does not include the work needed for the ceiling you want to look at every day.
The safest expectation is simple: scraping is demolition, finishing is craftsmanship. A smooth ceiling needs both parts handled correctly. When the quote explains each step, homeowners can compare options clearly and avoid paying twice for the same ceiling.
This also protects the schedule. If skim coat, primer, paint, and drying time are planned from the beginning, the room can be staged properly and the work can move in a controlled order. If those items are added only after scraping exposes problems, the project often takes longer and feels more disruptive.
Final CTA
Send photos of the ceiling, room size, ceiling height, and whether the popcorn is painted. We can tell you what type of finish scope makes sense.
FAQ
Can I paint after scraping popcorn ceiling?
Sometimes, but most ceilings need repairs, skim coating, sanding, primer, and touch-ups before paint. Painting immediately after scraping often reveals seams, gouges, and uneven areas.
Does popcorn ceiling removal include skim coat?
Not always. Some quotes include scraping only, while smooth ceiling refinishing includes repair, skim coat, sanding, primer, and paint. Homeowners should confirm the scope.
Why are seams visible after popcorn removal?
Popcorn texture often hid drywall seams and builder-grade finish work. Once texture is removed, seams may need additional compound and sanding to blend into the ceiling.
Related local pages and guides
Keep Planning Your Project
Field Photos
What the Work Can Look Like
Article Review
AuthorEPF Pro Services
Reviewed byEPF Pro Services
UpdatedJune 3, 2026
Ready to plan your ceilings?
Get a popcorn ceiling quote today
Share photos, ceiling heights, and timing. We reply the same day with Mississauga, Oakville, and GTA availability.
Quick next step