
Basement Drywall Taping and Mudding in Toronto (2026): Compact Rooms, Bulkheads, and Access
Updated September 11, 2026
Looking for a Toronto basement drywall taper? EPF’s 2026 planning range is CAD $1.75–$3.50 per sq. ft. of ready drywall surface before HST and extras. Include bulkheads, stairs, and material access when comparing finishing quotes.
- Trusted since 2005
- Fully insured
- Dust-controlled sanding
- Paint-ready finishing
- 3-year workmanship warranty
Quick Answer
For EPF’s 2026 planning range, allow about CAD $1.75–$3.50 per sq. ft. of actual drywall surface for standard finishing on ready board, before HST and extras. A small basement footprint does not guarantee a simple taping job. Multiple ceiling levels, short returns, stairs, and limited space for tools can increase labour. A useful Toronto quote identifies the finished surfaces, access route, material staging, board readiness, finish expectation, and painting handoff.
Basement drywall taping and mudding in Toronto should be quoted around the room's details and access, not its footprint alone. A compact space can have several ceiling planes and many short corners. Our Toronto drywall contractor service can review the board, bulkheads, stairs, and finishing expectations together before defining the work.
This guide focuses on a basement with limited working space. Not every Toronto basement has that layout, and a narrow room is not automatically a difficult job. The practical question is whether the crew can reach the surfaces, move materials, shape the joints, and complete the agreed finish without the work area becoming crowded or the scope becoming unclear.
2026 basement taping and mudding cost range in Toronto
Use CAD $1.75–$3.50 per sq. ft. of measured wall and ceiling surface as EPF’s preliminary 2026 planning allowance for standard Level 4 taping, mudding, and sanding on sound, already-hung drywall. Allow roughly another $0.75–$1.50 per sq. ft. of the selected surface for Level 5 skim coating. These are EPF planning estimates, not a fixed quote or a claim about the average price charged by other local contractors.
Standard finishing allowance
CAD $1.75–$3.50 per sq. ft. of actual drywall surface; sound board ready for joint treatment.
Additional Level 5 allowance
Add CAD $0.75–$1.50 per sq. ft. of the area receiving a full skim coat; not the basement floor area.
750 sq. ft. compact-room surfaces
$1,312.50–$2,625 calculated at the standard allowance, before HST, minimum charges, or project-specific extras.
Confirm before booking
Board supply and hanging, corrections, primer, paint, unusual access, extra phase visits, and any separate protection or disposal charges are outside these calculations.
The illustrative 10-by-24-foot room below contains 750 sq. ft. of walls and a simple flat ceiling before deductions. That calculates to $1,312.50–$2,625 for standard finishing. Extra bulkhead faces, detailed corners, restricted access, board corrections, and special finish requirements must be assessed separately.
The baseline assumes finishing labour and normal tape and compound materials. Ask the estimator to confirm materials, corner treatment, dust control, ordinary cleanup, and any minimum charge in the written total. The final scope and site conditions determine the written quote, which can fall outside this planning range. The same EPF planning range is used across these guides; no automatic city premium is assumed.
Hiring a basement drywall taper in Toronto
You can request a taping-only assessment when the board is already installed. Show the entire basement and the route downstairs so the contractor can distinguish normal finishing from difficult access, extra ceiling planes, and repairs. A broad renovation price and a finishing-only quote are different scopes.
Our Toronto drywall contractor services explain the local service options. Use the room details in this guide to request the specific installation, repair, or finishing scope you need.
What to put in your quote request
List the actual wall and ceiling surfaces, all bulkhead faces, whether the room will be empty, and your primer or painting preference. Ask the contractor to identify access-related costs separately and state what happens if other trades need new openings after the finishing work begins.
Find the details that matter more than the floor area
Stepped or boxed ceiling
Measure each included plane and record the long corner lines, end returns, and access openings.
Stair transition
Show the upper and lower approaches, overhead surfaces, finished steps, and the area where protection is needed.
Narrow work zone
Agree on material staging, tool movement, and what must be cleared before finishing begins.
Long view through the room
Assess joint placement and lighting along the ceiling or wall that remains visible from the entrance.
These details do not justify an unexplained city surcharge. They describe actual work that a contractor should be able to discuss. A broad, empty room with a simple flat ceiling can be easier to finish than a smaller room divided by several boxed services. The estimate should make that difference understandable rather than rely on the word basement.
At EPF Pro Services, we want the homeowner to know which surfaces and working conditions are included. If the quote assumes an empty room, a clear stair route, and ready-to-finish board, those assumptions should be stated. Photos of the current space help the assessment reflect what the crew will actually encounter.
Map the ceiling as separate surfaces
Stand near the entrance and identify each ceiling level. A main flat area, a dropped section, and a bulkhead underside are different planes even when they share one room name. Add the vertical faces and short returns where the levels change. Mark areas left open or excluded from the drywall scope.
The measurement should avoid double counting. Where a bulkhead replaces part of the main ceiling plane, its surfaces need to be accounted for consistently. The estimator should explain the method rather than add every rectangle without checking how they meet. A simple sketch with labelled dimensions is often more useful than an unmarked wide-angle photograph.
Count the lines as well as the flat areas
Long outside corners need to remain straight and visually consistent. Short inside corners and end returns require access for several finishing operations. They may add little square footage but still take time. Show them in the photos so the quote does not treat an intricate ceiling as a single flat rectangle.
Keep service panels, planned openings, and changes awaiting another trade visible on the plan. Taping should follow the settled construction detail. Do not ask a finisher to close a required opening or change a boxed service to improve the appearance. Functional and regulated questions need the appropriate professional direction before cosmetic work proceeds.
Why a narrow room can still have substantial drywall area
Consider a hypothetical room measuring 10 feet by 24 feet with a 7.5-foot wall height. The floor and simple flat ceiling each measure 240 square feet. The perimeter is 68 feet, giving 510 square feet of wall surface before opening deductions. Walls and ceiling therefore total 750 square feet before extra returns or partitions are considered.
Those numbers describe a measurement example only. They do not represent a customer project, a price, or a statement that the room's dimensions satisfy any building requirement. An actual basement must be assessed for its intended use and construction. The calculation simply shows why a 240-square-foot footprint does not mean only 240 square feet of finishing.
A narrow room can also produce long sightlines. From the stairs, the eye may follow the same wall or bulkhead edge for most of the basement length. A small ridge repeated along that view can be noticeable after painting. Finish planning should consider what can be seen, not assume that a modest footprint makes appearance unimportant.
For another measurement example and quote breakdown, see the basement taping and mudding cost guide. Use the method to ask better questions, then have the actual Toronto surfaces and details measured for your scope.
Review the stair route before materials arrive
Photograph the access path from the entrance to the work area, including turns, doorways, and overhead restrictions. The finishing stage uses smaller items than board delivery, but compound, tools, protection, and sanding equipment still need a practical route. The route may pass through completed parts of the home that require care.
Identify the finished stair material and any surfaces that could be affected by carrying tools. Agree on protection that is appropriate and secure, without introducing a trip hazard. Keep handrails and necessary access usable. Material movement should be planned rather than improvised around belongings stacked on the landing.
If deliveries or vehicle access require special arrangements at your property, tell the contractor. This is a site-planning question, not a claim about a particular street or neighbourhood. Share the actual available access and any relevant instructions before the crew arrives so unloading and daily work can be scheduled realistically.
Make room for the crew to work
An empty strip down the centre of a basement may not provide access to the walls that need finishing. Tools must reach corners and ceiling areas, and the crew needs a place to handle materials without brushing against fresh compound. Discuss which belongings must leave the room and which can remain protected in an agreed position.
Choose a tool and material area that does not block the stair route or required equipment access. In a small room, moving the same materials repeatedly can slow the finishing process. A compact, consistent staging area can reduce that disruption. The exact arrangement depends on the room and should be agreed after the contractor sees it.
Working around furniture may be possible in some cases, but it should be priced as the actual setup. Do not promise that the room will be cleared and then leave it crowded when the crew arrives. If clearing it is difficult, explain that early so the options and any limitations can be discussed honestly.
Contractor field note: take two views of every awkward area
A close-up shows the seam, but a wider view shows whether the crew can reach it. For a stair corner or low bulkhead, send both. That helps distinguish a simple surface detail from one that needs additional access planning.
Check installed board before pricing the finishing passes
A basement ready for mud should have more than sheets attached to the walls. The contractor needs to assess panel alignment, attachment, damaged paper, and unfinished details. If another crew installed the board, identify who will correct anything that prevents normal finishing. A tape-only price may assume the base is already suitable.
Square-ended butt joints and concentrated seams can require broader blending than factory tapered joints. A narrow ceiling strip between a wall and bulkhead may not behave like a large unobstructed panel. Discuss how the existing layout affects the finish without asking the taper to conceal significant board problems under excessive compound.
Where old painted surfaces meet new panels, mark the transition. The preparation and painting may extend beyond the new board edge. If the homeowner expects the whole wall to look consistent, that expectation should be part of the scope. A quotation limited to new-board seams may not include blending and repainting the retained surface.
Our drywall hanging, taping, and finishing guide explains the separate stages. Where substantial installation remains, review the drywall installation service scope before comparing it with a finishing-only proposal.
Specify the surface you want to see under the lights
Tell the contractor how the room will be decorated and lit. A long wall with directional light, a reflective paint sheen, or a smooth ceiling viewed from the stairs may deserve additional discussion. A less visible storage wall can have different appearance requirements. The decision should be tied to use and visibility rather than a universal basement finish package.
Level 4 finishing treats the joints and related details to a defined standard, while Level 5 adds whole-surface skim coating after the required joint work. Neither makes poor framing straight or repairs a moving panel. Ask which surfaces are included in any skim-coat allowance and what primer preparation is expected afterward.
Use the Level 4 and Level 5 finish comparison when reviewing options. For a compact basement, consider the main sightlines and ceiling transitions first, then document any different treatment for secondary areas.
Compare quotes using one agreed room description
Give each contractor the same room sketch, current photographs, and intended finish. State whether the board is already installed, whether any compound is present, and whether primer or painting should be included. This reduces the chance that one quote covers only basic taping while another includes preparation, detailed corners, and a complete decorating handoff.
Ask for the access assumptions, protection, materials, sanding control, cleanup, and excluded surfaces to be written down. A price per square foot needs a defined measurement basis. A fixed total needs a defined scope. Either method can be understandable when the work and the final condition are clear.
Treat board corrections and changes from other trades as identifiable items. If a ceiling opening is added after finishing starts, agree on how the repair and any extra visit are handled. The aim is not to predict every surprise; it is to establish how genuine changes will be discussed before they become disputed costs.
Show the whole route and the ceiling details
Send photos from the entrance to the basement, the stairs, opposite room corners, each bulkhead, and any existing compound. Include rough dimensions, access limits, desired finish, and whether the quote should include primer or paint.
Use project photos to ask better questions before hiring
When comparing Toronto drywall tapers, look for work that resembles the details in your basement. A broad finished wall says little about a narrow stair return or a ceiling broken into several bulkhead planes. Ask whether a portfolio shows the contractor’s own work and which stages the pictured job includes.
A useful discussion pairs a broad room view with closer views of corners and transitions. Ask whether the surface is sanded, primed or fully painted, what finish was specified, and whether the contractor also corrected the board beneath it. Lighting and camera distance affect what a photograph reveals, so images support the conversation rather than establish an acceptance standard.
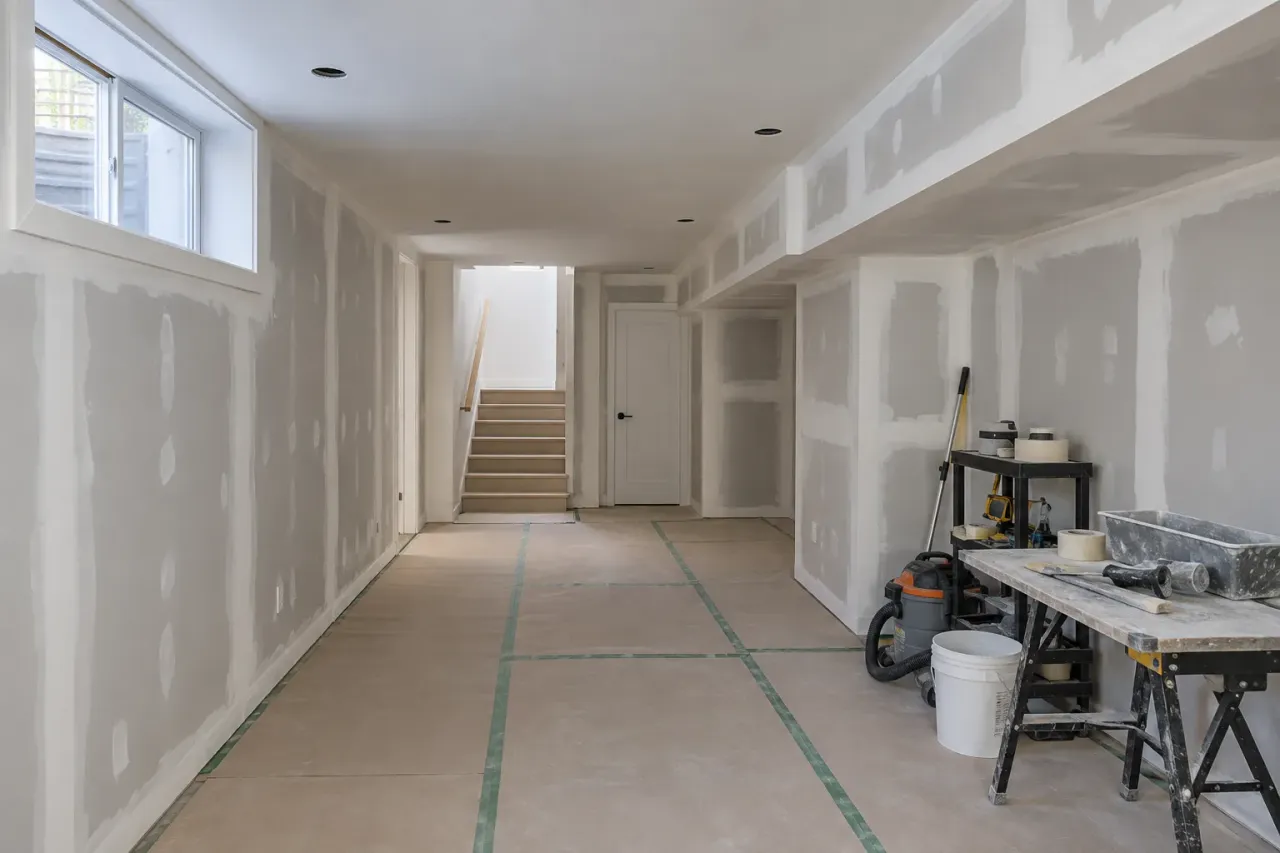
The generated illustrations in this guide explain the layout and finishing concepts; they are not evidence of completed EPF jobs. For your estimate, use photos of your actual ceiling planes, stair approach and joint condition. Agree on the written scope and final inspection conditions instead of expecting a small basement to match an unrelated showcase room.
A finishing schedule for a compact work area
Good access helps, but it does not remove the need for drying and readiness checks. The normal sequence includes preparation, joint reinforcement, successive compound work, sanding, and the agreed decorating stage. In a compact room, the crew may need to sequence corners and adjacent areas carefully to avoid damaging fresh work while reaching the next surface.
Allow each product to become ready for the next operation. Setting and drying are different, and a hard repair can still need more time before decoration. Basement temperature, humidity, air movement, and application thickness all matter. Ask the contractor to explain what could move the handoff date rather than relying on one promised duration for every room.
Coordinate lighting work, trim, flooring, and painting around that sequence. A small room cannot necessarily accommodate several trades at once. If the painter has a fixed booking, share it early and confirm readiness before that visit. Overlapping trades too tightly can create damage or extra cleanup instead of saving time.
Dust control where the basement connects to the house
The stair opening can connect the work area directly to living space. Discuss containment and daily access before sanding. Protect the material route as well as the room, and decide where waste will be handled. Portable belongings should be moved away from active surfaces so protection does not become an obstacle to finishing.
EPF uses dust-controlled sanding with HEPA vacuum support appropriate to the work. Collection helps reduce dust spread, but it is not a promise of a dust-free house. Keep children, pets, and unnecessary household traffic out of the active area. Agree on when a route is available rather than walking through during overhead work or sanding.
Ventilation and building systems need suitable handling. Do not block required equipment access or alter systems casually to keep dust in one room. Raise concerns before work starts. If the room has persistent dampness, soft board, or another unresolved condition, have that assessed before cosmetic finishing is treated as the next step.
Inspect the finish before the painter takes over
Review the long wall, ceiling planes, outside corners, and stair transition under the agreed lighting. Check for obvious ridges, scratches, exposed tape, and missing treatment at short returns. Dust removal and primer preparation should follow the product requirements. Primer cannot compensate for an incorrectly shaped joint.
Agree on responsibility for small corrections revealed after priming. This is especially useful where the taper and painter are separate contractors. A written handoff should state whether the surface is sanded and ready for primer or already primed and reviewed. Those are different completion points, even if both are described casually as paint-ready.
If painting is needed, coordinate interior painting after basement finishing with the chosen primer, sheen, and surface boundaries. Record the coating details so later maintenance does not depend on remembering which product was used.
Prepare a compact-basement quote that avoids guesswork
Put the room dimensions, ceiling levels, access route, current board condition, and intended finish in one short brief. Include pictures of awkward corners and the wider space around them. Identify any excluded room, future change, or retained surface. This gives the contractor a useful starting point without requiring the homeowner to prepare professional construction drawings.
DIY clearing and documentation can be helpful. Avoid pre-sanding uncertain joints or opening walls to investigate an issue without appropriate advice. Unknown older materials, structural questions, and regulated work need the relevant professional assessment. A small area can still involve important details that cannot be judged from appearance alone.
For a clear next step, send EPF your Toronto basement drywall finishing details. We can review the room and access information, discuss the required assessment, and define the taping, mudding, sanding, and decorating scope around the basement you actually have.
FAQ
What should I look for in a basement drywall contractor’s project photos?
Ask to see comparable ceilings, bulkheads and corners, and confirm whether the images show the contractor’s own completed work. Check whether the surface is sanded, primed or painted. Photographs help explain workmanship but do not replace a scope review and an agreed inspection under the intended room lighting.
Can I hire EPF for basement taping only in Toronto?
You can request an assessment for taping, mudding, and sanding on already-installed basement drywall. EPF needs to review board condition, corners, access, and the desired finish. Board corrections, installation, primer, and paint should be included or excluded explicitly.
What is the 2026 cost range for basement taping and mudding in Toronto?
For EPF’s preliminary budgeting, allow CAD $1.75–$3.50 per sq. ft. of actual wall and ceiling surface for standard Level 4 finishing on ready board. Level 5 skim coating adds roughly $0.75–$1.50 per sq. ft. of treated surface. These EPF planning allowances are before HST, minimum charges, corrections, primer, paint, and project-specific extras; EPF confirms the price in a written quote.
Why can a small Toronto basement take significant finishing work?
A compact room can still have substantial wall and ceiling area, many corners, several bulkhead planes, and restricted access. Those details affect labour beyond the floor footprint.
Are bulkhead faces included in a basement taping quote?
They should be identified explicitly. Confirm the underside, vertical faces, short returns, and transitions, with a measurement method that avoids counting replaced ceiling area twice.
What access photos does a drywall contractor need?
Show the entrance, route to the basement, stair turns, overhead restrictions, and the work area. Pair close-ups of awkward joints with wider views showing how they can be reached.
Does a low ceiling automatically need Level 5 finishing?
No. Finish selection depends on lighting, paint sheen, surface condition, and appearance expectations. The ceiling height alone does not determine the required cosmetic finish.
Can drywall finishing and painting happen at the same time in a compact basement?
The work needs coordination and suitable product readiness. Restricted space may prevent trades working together efficiently. Confirm the finishing and primer handoff before the painter arrives.
Drywall service pages and guides
Plan the Right Drywall Service Next
Toronto drywall contractor services
Review local installation, repairs, taping, and finishing around the actual basement scope.
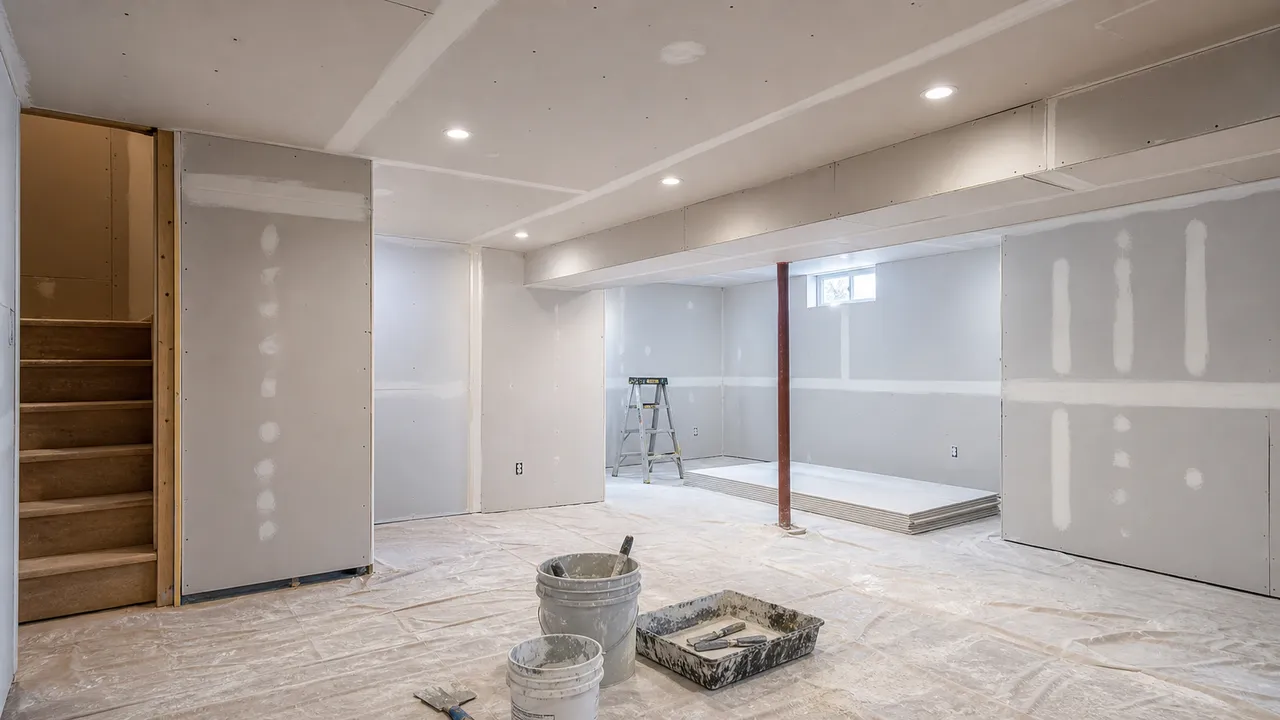
Understand each drywall work stage
Separate board installation, joint finishing, sanding, and the decorating handoff.
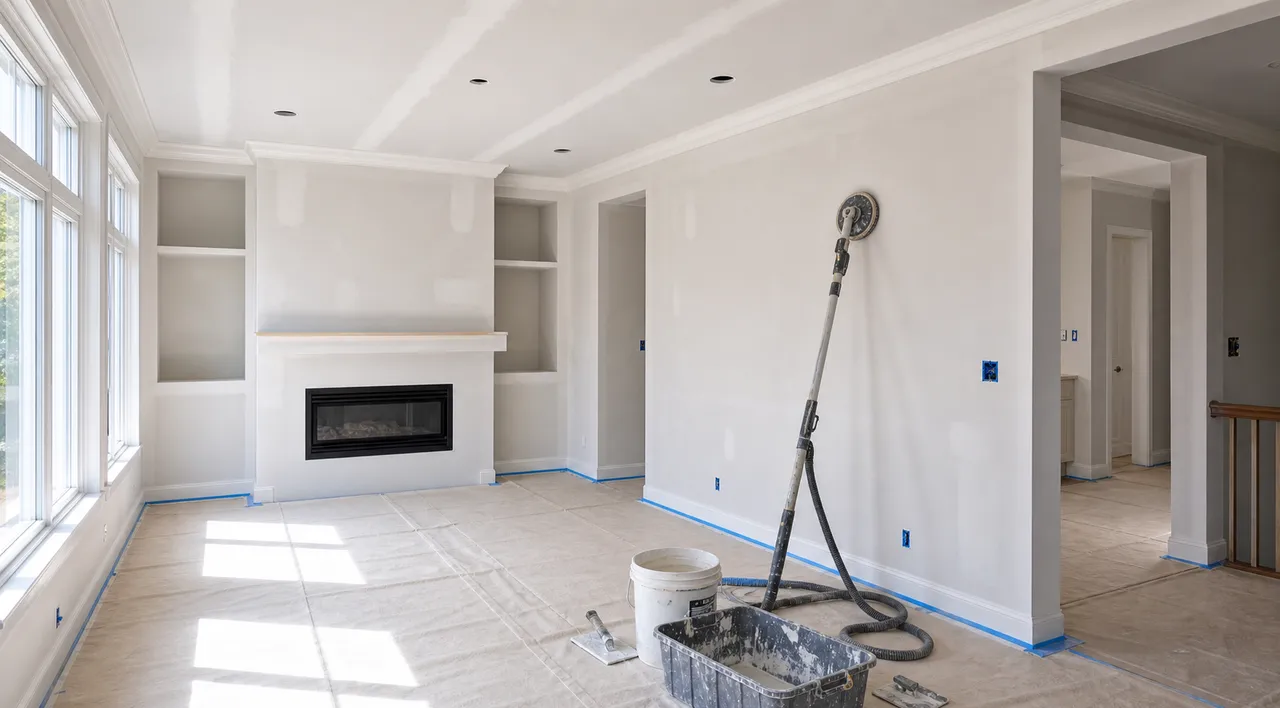
Compare drywall finish levels
Match surface preparation to the lighting and coating choices.
Field Photos
What the Work Can Look Like
Article Review
AuthorEPF Pro Services
Reviewed byEPF Pro Services
UpdatedSeptember 11, 2026
Plan your drywall scope
Get a drywall quote today
Share photos, room sizes, and timing. We reply the same day with Toronto drywall availability and a clearer written scope.
Quick next step