
Repair Garage Drywall Before Painting? (2026 Guide)
Updated September 11, 2026
Paint follows a suitable repaired surface. It cannot rebond loose tape, fill a poorly shaped joint or resolve a moisture problem. Agree on the drywall-to-primer handoff first.
- Trusted since 2005
- Fully insured
- Dust-controlled sanding
- Paint-ready finishing
- 3-year workmanship warranty
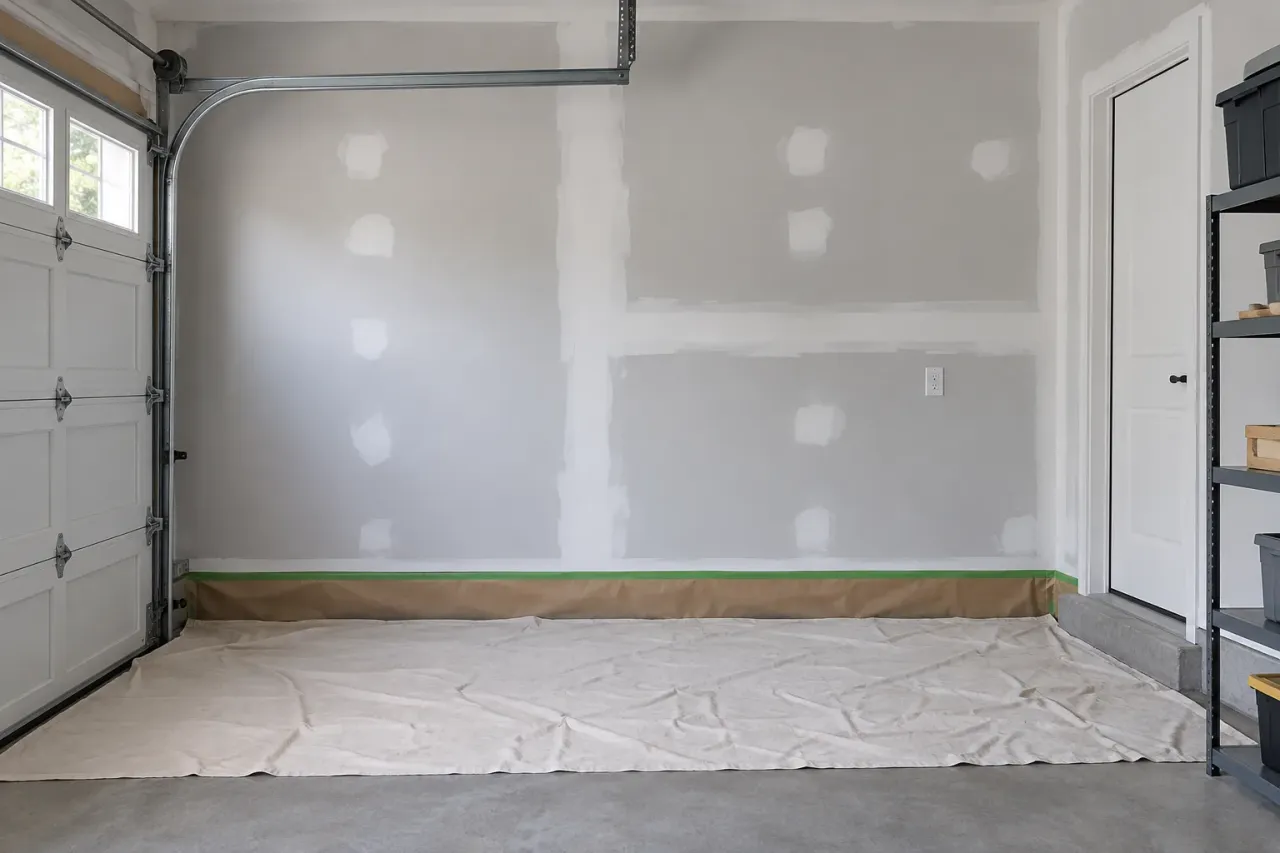
Quick Answer
Paint follows a suitable repaired surface. It cannot rebond loose tape, fill a poorly shaped joint or resolve a moisture problem. Agree on the drywall-to-primer handoff first.
Garage drywall should be assessed and repaired before painting when there is loose tape, cracked reinforcement, damaged board or a poorly shaped patch. Paint changes colour and surface appearance; it does not rebuild a failed joint or correct an unresolved moisture problem. A clear sequence from repair to primer and finish paint helps avoid doing the decorating twice.
EPF's garage drywall repair service can provide a defined preparation-only scope or include primer and painting where agreed. This guide explains what to review before coating, how to coordinate a separate painter and what a useful final handoff looks like. It does not assume every visible mark needs the same repair or every garage needs a complete skim coat.
Start with the condition you can see
Use these observations to prepare the assessment, not to diagnose concealed construction. Pair each detail photograph with a wider view so the repair area, adjoining surfaces and access are clear.
Loose or cracked areas
Assess and repair before coating.
Prepared compound
Check readiness and remove sanding dust appropriately.
Primer review
Assign corrections and spot priming before finish paint.
Walk the garage before buying the paint
Begin with a full view of each wall and ceiling. Identify lifting tape, seam cracks, impact holes, raised patches and rough fastener treatment separately. Some are failures requiring repair, while others may be sound utility finishing that needs improvement only if the new appearance target calls for it.
Look at the areas that will remain visible after storage or workshop equipment is installed. Include corners, doorway returns and the ceiling approach near the garage door. Those details can be overlooked when attention is focused on choosing the main wall colour.
Take photographs before moving or covering the evidence. If the material is uncertain, do not scrape or sand it simply to prepare for paint. A record of the existing condition helps the repair assessment and can prevent additional damage caused by an improvised preparation step.
Separate loose material from surface imperfections
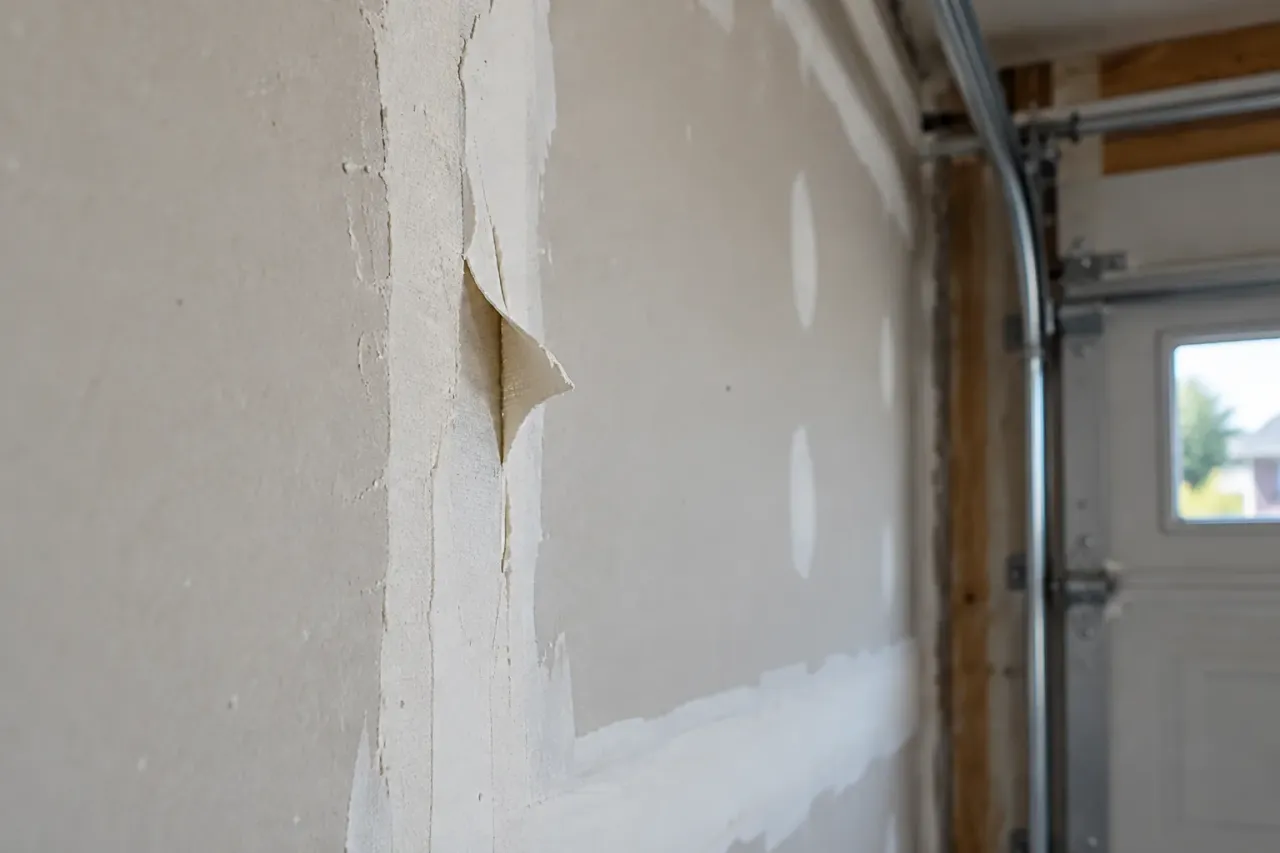
A curled tape edge indicates a different question from a sound raised joint. Flaking paint and damaged board paper also need different preparation. The contractor should determine which layer is unsuitable and what can remain before a coating plan is selected.
Painting over detached tape leaves the new coating dependent on the failed bond beneath it. A thicker finish coat does not change that condition. The peeling garage tape guide explains what to photograph and why the assessed repair may extend beyond the short strip visible at first.
A shallow scratch or sound uneven patch may need a more limited surface correction. Avoid treating every mark as a reason for wholesale removal. The repair scope should identify the defect and the intended remedy, allowing the homeowner to distinguish essential work from optional broader appearance improvement.
Cracks should be assessed before they are concealed
A seam line is an observation, not a complete diagnosis. Note whether it follows a joint, crosses an old patch or returns after earlier work. Share the timing and any known moisture or alteration history. A new coat can hide useful evidence without addressing what caused the line.
Some limited surface defects can be corrected without rebuilding the whole joint. Failed reinforcement or an unreliable base requires a different approach. Ask whether the proposed work is filling a cosmetic mark, re-taping a failed area or correcting board before finishing.
If the surface is changing shape, loose, wet or otherwise uncertain, arrange appropriate assessment before routine decoration. The painter should not be expected to certify concealed construction. Painting should follow a suitable repair decision rather than serve as the final test of whether another quick patch will hold.
Raised patches remain raised under paint
Paint follows the wall profile. A narrow hump or abrupt compound edge can remain visible after coating, especially under side light. The finisher should assess the surface shape and the condition of the material beneath it before deciding how to blend the repair.
Sanding alone is not always the answer. It can expose tape or tear surrounding paper while leaving a broad irregularity unresolved. Some areas need suitable reshaping or additional filling rather than more abrasion. The appropriate preparation should be included before the paint schedule is confirmed.
A local repair can require a wider compound transition than the visible defect. That is part of blending the profile, not automatically evidence that the repair has expanded without reason. Ask the contractor to explain the physical repair, finishing and decorating boundaries separately.
Unfinished garage joints need an appearance decision
A utility garage may have visible compound and fastener treatment that is sound but not prepared for the smooth painted result the homeowner now wants. That does not automatically mean the board must be replaced. It means the new decoration target needs to be defined and the required preparation assessed.
Discuss whether you want selected visible walls improved or the entire garage refinished. Include the ceiling and corners explicitly if they belong in the scope. A request to paint the garage can otherwise leave uncertainty about whether rough but sound joints are being accepted or corrected.
The garage finish levels guide explains how Level 4 and Level 5 relate to decoration. A finish number is not a paint system or a guarantee of perfectly straight construction. It helps specify treatment when combined with actual surfaces, lighting and appearance expectations.
Choose sheen and lighting before the repair handoff
Tell the finisher about the planned paint colour and sheen while the surface treatment is still being discussed. A change to a more demanding coating after sanding can alter what the homeowner notices. The finishing assumptions should follow the decoration that will actually be applied.
Show permanent light positions and relevant window light. A bright workshop fixture close to a wall can reveal transitions differently from a temporary light in the middle of the garage. The final review should reflect the intended use rather than ignore those conditions or rely only on an extreme inspection angle.
For a demanding surface, discuss a representative sample with the proposed primer and paint. A small colour card cannot show how the repaired joint and surrounding wall will behave together. Record the agreed sample conditions and revisit them if the coating or lighting plan changes.
Primer has a role, but it is not joint repair
The selected primer system prepares a suitable surface for decoration according to its product instructions. It does not fill a badly shaped seam, rebond loose tape or make a damp board ready. Necessary repairs and appropriate surface preparation come before the primer stage.
Do not assume a paint-and-primer label removes all preparation needs. The condition of the retained wall, repaired compound and previous coating still matters. Ask the painter or finisher to identify the suitable preparation and follow the product guidance rather than choosing by marketing terms alone.
Where stains are involved, the source and affected material need assessment first. A coating intended to manage a residual mark is not a substitute for resolving active moisture. The paint scope should follow the repair findings, including replacement where needed, instead of making the wall look dry without establishing readiness.
Remove sanding dust using the agreed method
Surface dust can interfere with preparation and coating. The finishing handoff should state who removes it and what condition the painter receives. A wall being smooth to the eye does not establish that it is ready for the selected primer system.
EPF uses dust-controlled sanding with HEPA support where appropriate, alongside protection and cleanup. Extraction reduces spread but does not eliminate dust. The garage still needs a plan for stored items, vehicles and the route into the house during active work.
Avoid improvising an aggressive wet cleaning step on fresh compound without guidance. Preparation should suit the materials and coating instructions. The useful question is what remains before primer, not whether a homeowner can make every surface appear spotless by a method that may damage the finish.
Respect readiness between the stages
Compound, primer and paint each have their own application and readiness requirements. A garage may have different temperature and humidity conditions from the adjoining house. Tell the contractor how the space is used and maintained so the schedule reflects the actual environment.
A setting-compound time is not the elapsed duration to finished paint. A material may harden while moisture remains, and a thick patch can progress differently from a thin joint coat. The next operation should follow suitable readiness, not only the appointment time on the painter's calendar.
Ask for the expected sequence and a confirmation point before coating. If the garage cannot maintain the required conditions, the work window may need adjustment. Clear scheduling is more useful than promising every repair will be painted on the same day regardless of its depth and surroundings.
Inspect after primer before completing the paint
Primer can make small scratches, pinholes or surface differences easier to see. Agree on an inspection at that stage and identify who performs corrections. A repair scope that ends at sanding should not leave the homeowner unsure whether a necessary touch-up is part of the finishing agreement.
Suitable corrections may need further drying, refinement and spot priming before the finish coats continue. The sequence should be coordinated rather than compressed into a rushed attempt to keep the original painting appointment. The aim is to resolve visible finishing items while access and protection are still available.
Inspect under the agreed room lighting and look at the areas you will actually see: long walls, ceiling seams, corners and old patch transitions. Record the items that need attention. A concrete list helps the finisher and painter act on the same observations rather than debate an undefined request for perfection.
Who owns the handoff when two trades are involved?
A separate drywall finisher and painter can work effectively when responsibilities are clear. Confirm who removes dust, applies primer, checks the primed surface, corrects finishing defects and spot-primes the corrections. Put that sequence in the scope before the first crew considers its work complete.
If another trade damages a finished wall later, record the new event separately. A fresh cut-out or impact mark is different from an original sanding defect. Photographs and a short description help keep the repair discussion focused on the actual work needed.
Homeowner painting also needs a defined handoff. Ask the finisher what surface is being supplied and what preparation remains. Retain the product and finish information for later reference. You can choose to complete the coating yourself without assuming the drywall contractor has already included every step up to final paint.
Local touch-up and full-wall painting are different choices
A small repaired area may not blend invisibly into aged paint. Colour, sheen and existing roller texture can differ even when the joint itself is well finished. Discuss whether the final coating should continue to a corner or cover the complete plane for a more consistent appearance.
The larger painting boundary does not necessarily mean the drywall repair must be equally large. Board replacement, compound feathering, primer and final paint can each cover different areas. A quote should identify those boundaries so the homeowner can see why one small defect can involve broader decoration.
If you accept a local touch-up, agree on realistic appearance expectations. If the goal is a uniform finished garage, compare a fuller coating scope. The choice should be deliberate rather than based on an assumption that matching a paint name will always hide the repair.
Coordinate storage installation and final coating
New shelves, cabinets and equipment can restrict access or damage a freshly finished wall. Plan their sequence with the repair and painting work. Required openings and service changes should be settled with the appropriate trades before the last finish stages whenever practical.
Do not ask the drywall crew to bury required access points or guess the future location of fixtures. A simple layout and one person responsible for communicating changes can prevent avoidable patches in a newly painted surface. The garage improvement should have a shared sequence, not several independent finish dates.
Keep the area protected until the agreed coating readiness and use conditions are met. A surface that feels dry is not automatically ready for every installation or cleaning task. Follow the selected product guidance and coordinate the return of storage and vehicles with the responsible contractor.
Compare quotes at the same final stage
A repair-only estimate and a completed painting package are different scopes. To compare them, list the remaining stages needed after each proposal. Include primer review, touch-ups, painting boundaries, protection and cleanup. Unpriced work should be clarified rather than treated as included by default.
The garage repair cost factors guide explains why the amount of failed material and access matter more than floor area alone. Painting adds its own surface and preparation decisions. A single rate cannot reliably describe all of those differences without a clear definition of the work.
Ask EPF to separate necessary repairs from optional wider finishing where helpful. Then state whether the desired result is sanded preparation, primed surfaces or complete paint. That gives the estimate a concrete endpoint and helps the homeowner choose a package that fits the actual renovation plan.
Prepare the garage for a useful assessment
Send wide views of the garage, close-ups of loose tape, cracks and raised patches, approximate heights and your city. Include the planned paint and lighting, previous repair history and any unresolved moisture. Show access around shelves, vehicles, tracks and fixtures.
Use the quote form to provide the description and a photo link if available, or mention that photos are ready to share. EPF can confirm the assessment needed and discuss the repair-to-paint sequence before you commit to the final coating schedule.
A useful garage painting plan starts with a suitable wall, names the preparation and assigns the handoff. That approach lets the new colour follow the repair instead of asking paint to perform the work of tape, compound or board correction.
Planning this repair in Mississauga
Include your postal code, nearest intersection and whether the garage is attached or detached. For a peeling joint, show both the lifted edge and the full wall. Confirm vehicle and storage clearance so the estimate reflects the space available to protect, repair and finish the surface.
EPF serves all Mississauga neighbourhoods. Review Mississauga garage repair coverage and neighbourhoods, then include your location with the repair details when requesting an estimate.
FAQ
Can primer replace drywall repair?
No. Primer prepares a suitable surface for decoration; it does not rebond tape, reshape a raised joint or solve moisture damage.
Who fixes small defects revealed by primer?
Agree on that responsibility before work begins, especially when the finisher and painter are separate. Include corrections and spot priming in the handoff.
Can I paint the garage myself after EPF repairs it?
You can request a preparation-only scope. Confirm what surface is supplied and follow the selected coating's preparation and readiness instructions.
Will a small paint touch-up match the rest of the wall?
Not always. Aged colour, sheen and texture can differ, so painting to a larger natural boundary may be needed for the desired appearance.
Field Photos
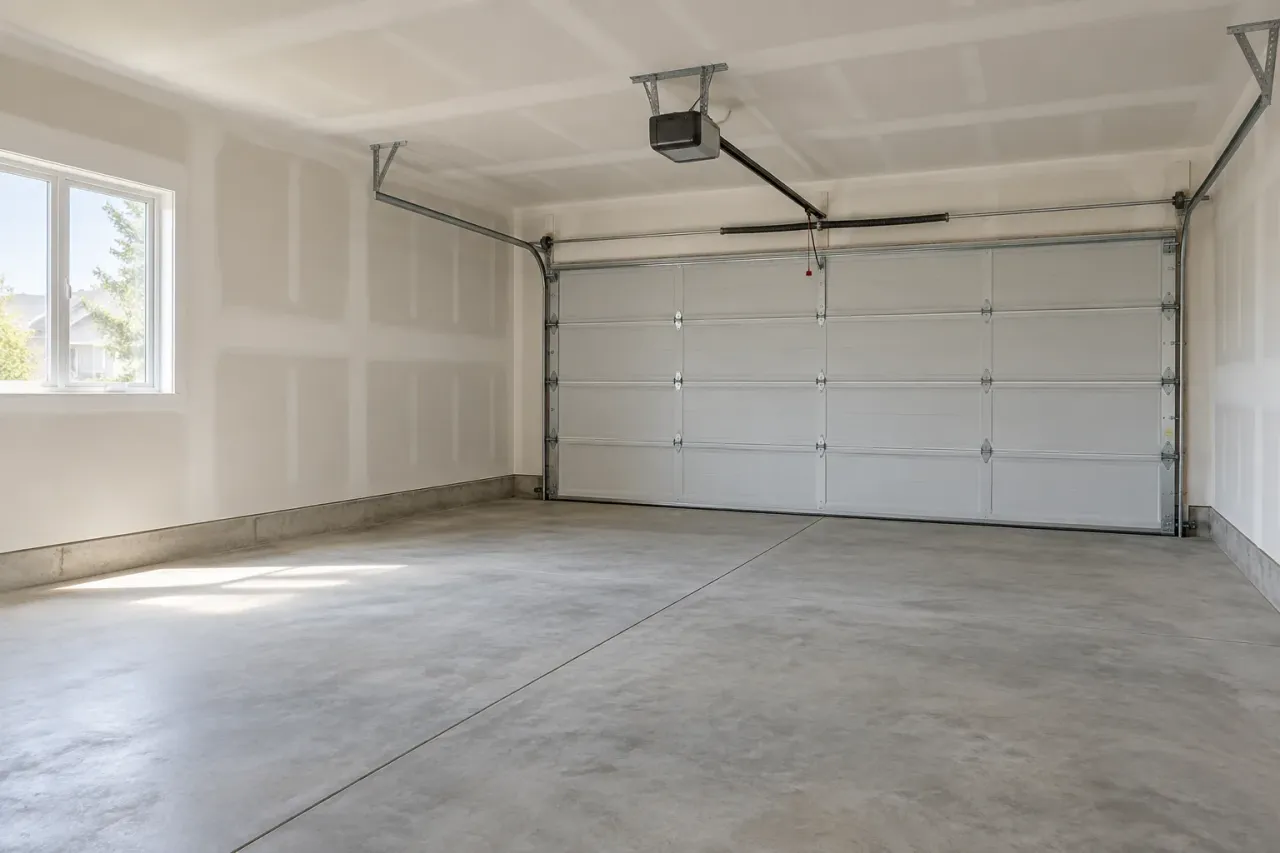
What the Work Can Look Like
Article Review
AuthorEPF Pro Services
Reviewed byEPF Pro Services
UpdatedSeptember 11, 2026
Plan your drywall scope
Get a drywall quote today
Share photos, room sizes, and timing. We reply the same day with GTA drywall availability and a clearer written scope.
Quick next step